
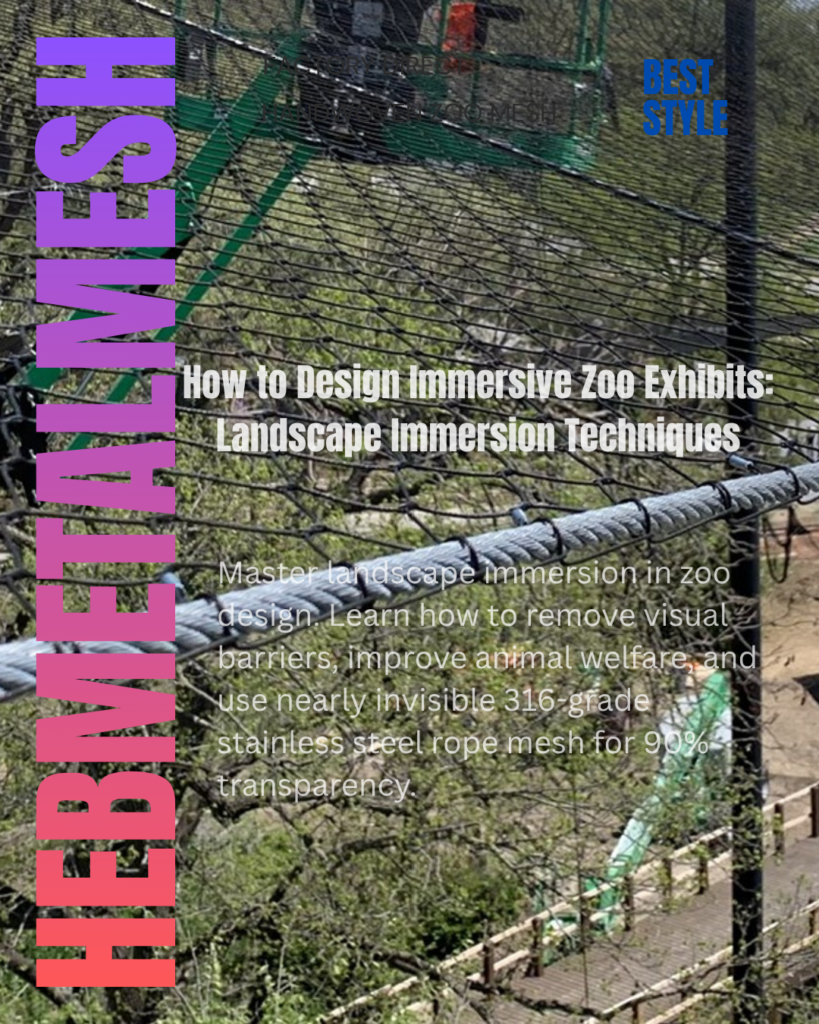
Immersion is usually bought as a material and lost as a sequence. A zoo can specify the most transparent mesh on the market and still build an exhibit that reads as a cage, because the visitor’s eye meets a post, a service gate and a sign before it meets the habitat. The order of that encounter is what people remember, and the order is settled at design stage — by the route, the standoff and the barrier placement — long before a single panel is fixed. What follows is the working set of immersion principles: what the eye meets first, from where, and how far back the visitor is allowed to stand.
Executive Summary
A visitor decides what an exhibit is within seconds of arriving, and the decision is made by whatever man-made object the eye resolves first. Immersion, in practice, is the discipline of controlling that order. Three moves carry most of it: the exhibit approach is designed before the enclosure is, so that the opening sequence of views is habitat rather than structure; the standoff between the public edge and the immersion barrier is treated as a designed number rather than a by-product of the guard-rail detail; and the man-made elements that cannot be removed are kept dark, small and off the axis. Rope mesh then does what it is genuinely good at: it removes most of the visual weight of a barrier without removing its function, and it passes 88 to 94 per cent of the image straight through to the viewer. It cannot author the immersion experience on its own, because that is set by the order in which the visitor meets the exhibit. The reference specification is the stainless steel rope mesh product page.
Planning an exhibit and want the barrier to disappear into it? Send us the species, the shape the enclosure has to follow, the distance the public will stand back and the route in, and we will return the aperture, the rope diameter, the alloy and the panel format that fit the sequence you have drawn.
Quick Answer: What are the principles of zoo exhibit immersion?
Control the order in which the visitor’s eye resolves the exhibit. Design the route and the approach first, fix how far back the public can stand, place the barrier so it is read after the habitat rather than before it, and keep unavoidable man-made objects — gates, posts, signs, service doors — out of the visitor’s axis. A transparent material helps only inside a sequence that already works.
Key Takeaways
- Immersion is a running order, not a product specification.
- The approach audit comes before the mesh schedule, and costs nothing but a walk.
- Standoff distance decides whether a panel reads as a grid of wire or as air with a texture.
- Gates, posts and signs break immersion faster than the barrier does, because they arrive earlier.
- A material can refuse to spoil an illusion; it cannot create one.
Immersion Is Authored in the Visitor’s Order
Landscape immersion is usually described as a look. It is closer to a running order. A visitor walking a loop is not looking at an exhibit; they are looking at a series of things in a sequence, and the eye assigns meaning in the order it resolves them. If the first man-made object in that visitor journey is a support post, then the exhibit is, for that visitor, about a post — and no amount of authentic rockwork further along overrides the first impression. This is why habitat immersion is so easy to specify and so easy to lose: the species, the planting and the rockwork can all be right while the order is wrong.
What visitors carry away is not a specification; it is the memory of what they noticed. Research in visitor studies has long treated the sequence and framing of an encounter as the thing that shapes recall, rather than any single object inside it — which is precisely the variable an exhibit designer controls and a fence supplier does not.
The Approach Audit: Twenty Seconds, Written Down
Audit the exhibit approach before the mesh schedule exists. Walk the route a first-time visitor will take and write down, in order, every element the eye meets in the first twenty seconds. The list is usually uncomfortable. It contains a bin, a directional sign, a lock-up gate, a fence post, the edge of a service road, and only then the habitat. That list is the exhibit’s real content, and it is the only measurement that assesses immersion directly instead of inferring it from a drawing.
Then repeat the walk with a colleague who has never seen the site; their list will differ, and the differences are where the illusion is thin. Visitor immersion is not achieved by adding atmosphere at the end of a project. It is protected by removing items from the front of the list.
Standoff: The Number That Decides How the Barrier Reads
Barrier placement has a vertical half and a horizontal half. The vertical half — where the panel sits relative to a standing visitor’s eye — is the one that gets drawn. The horizontal half, how far the public edge is held away from the panel, usually is not, and it is the more consequential of the two. A mesh panel examined from arm’s length reads as a grid of wire, because that is what the eye is given to resolve. The same panel viewed from four or five metres reads as air with a texture, and the habitat behind it becomes the subject. The design decides which one the visitor’s default position produces.
Planting beds, level changes, a raised walkway and a widened path are therefore not landscaping decoration; they are the mechanism that keeps the visitor inside the view corridor where the barrier is background. Where a visitor path must run close to a panel, that stretch is an engineering problem rather than a viewing one.
Animal Visibility Is the Counter-Constraint
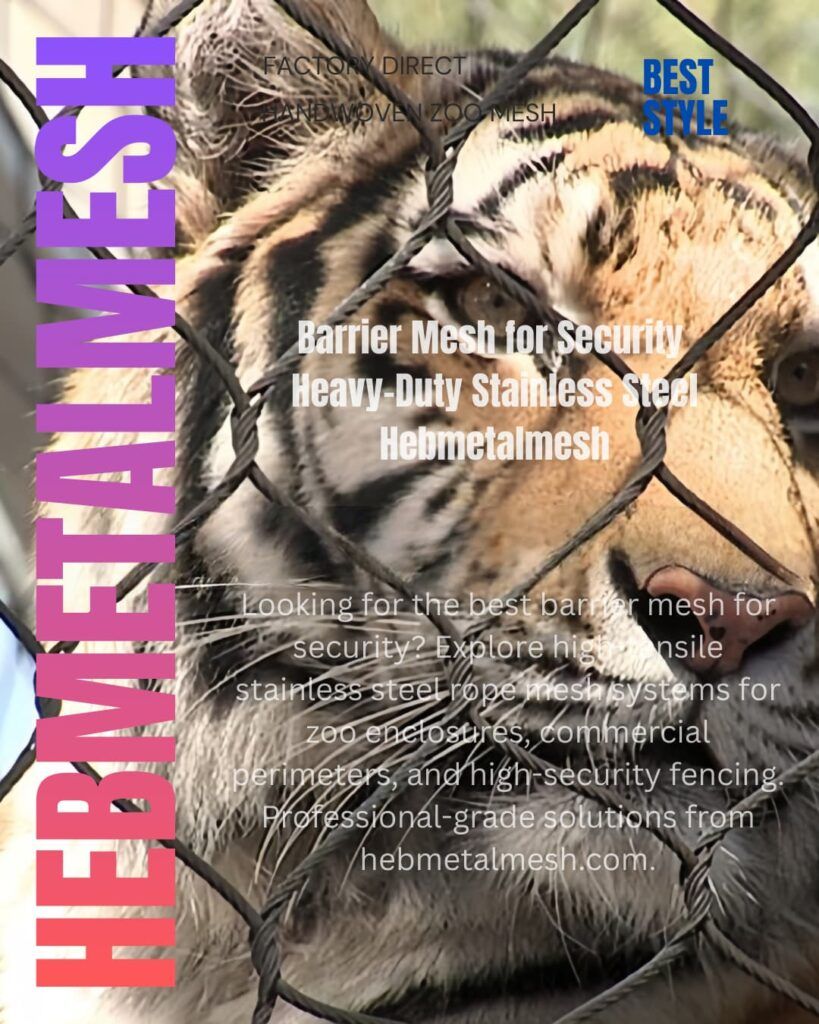
Standoff cannot be pushed indefinitely, because the exhibit still has to show an animal. Animal visibility and immersion pull in opposite directions: every metre added between the visitor and the barrier buys transparency and costs certainty. The useful resolution is to design around the animal’s guaranteed position rather than its average one. A tiger sleeps in the shade, a primate works at the mesh, a wading bird stands in water. The standoff, the viewing level and the planting should be set so that the position the animal occupies for most of the day is visible from the visitor’s default standing point, and the range it uses when it is most active is visible from somewhere on the route.
What the Mesh Delivers, and What It Does Not
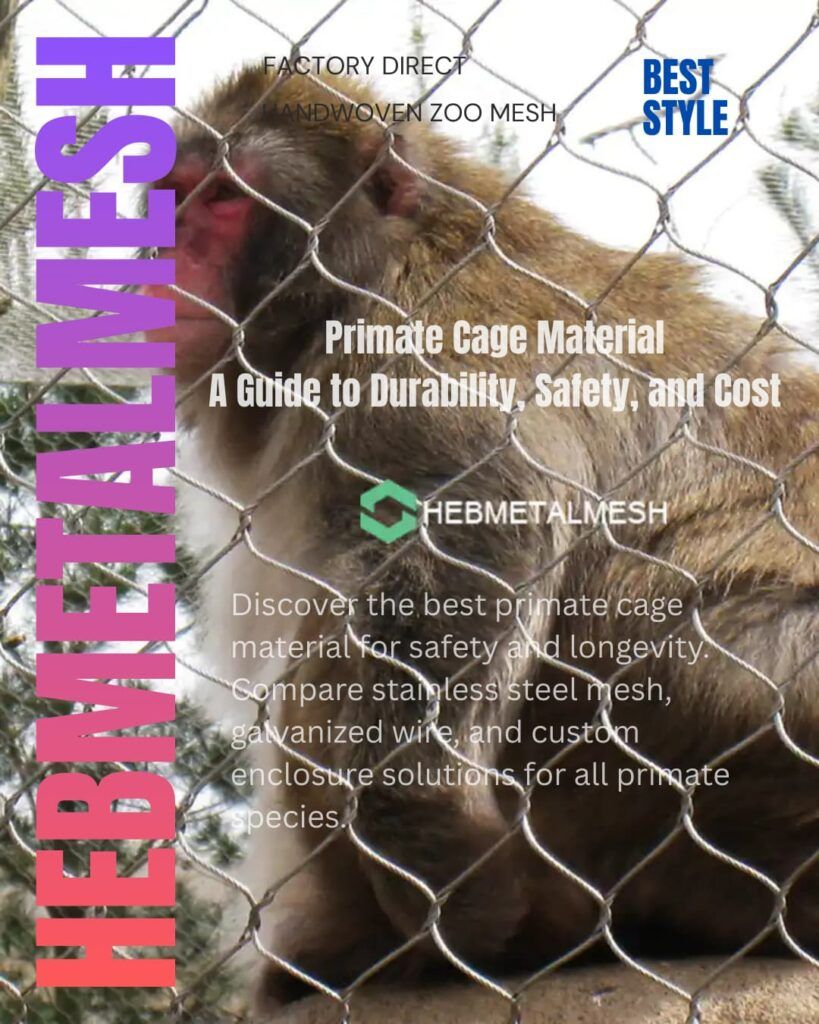
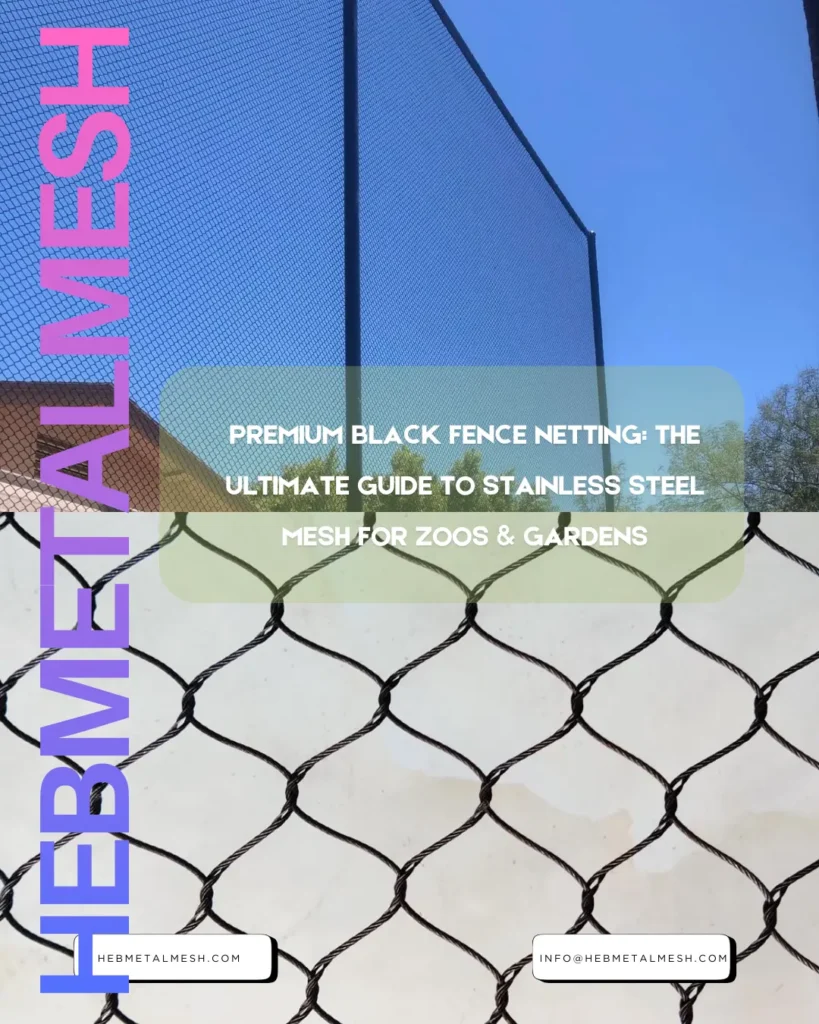
Rope mesh earns its place in this argument with one number: open area. At a 20 mm aperture the panel passes roughly 88 per cent of the image; at 102 mm it passes about 94 per cent. That is a material handing the exhibit almost the whole picture and taking almost none of it. A stainless steel rope mesh panel between 1.2 mm and 3.2 mm in cable diameter also carries the containment, and what the fixing has to answer for is the breaking load of the strand rather than of the panel. A black oxide finish keeps the wire dark so that it does not catch light and announce itself against planting.
None of that decides where the panel is looked at from, what the visitor meets first, or whether the habitat behind it is worth the transparency. A wire rope mesh panel is a near-perfect window, and a window is only as good as the view it frames. Choosing the material is the last step in the sequence, not the first, which is why two exhibits can use an identical product and deliver radically different experiences.
The Objects That Break Immersion Are Not the Barrier
The running order rarely fails at the mesh. It fails at the objects the project cannot delete: the keeper door, the service gate, the lock-up, the sign, the lighting column, the post. These are load-bearing both structurally and operationally, and they will be inside the visitor’s field of view. The design response is to keep them dark, small and off the axis — and, more importantly, to sequence them so that the eye reaches the habitat first. That is the job of the reveal: the point in the route where the view opens. Put it before the awkward crossing rather than after it, and the infrastructure reads as part of a working zoo rather than as the exhibit itself. An immersive exhibit is not one with no man-made objects in the frame. It is one where they arrive fourth or fifth instead of first.
The Order Is Fixed at Masterplan Stage
By the time an enclosure is detailed, most of its immersion has already been decided. The zoo masterplan sets visitor circulation — where the path runs, which side the public arrives from, where service access sits, how wide the public edge is, and whether the visitor approaches the habitat across a road or out of planting. Those are the variables the running order is made of, and they are far cheaper to move on a masterplan than after the concrete is poured. A project that treats immersion as a material decision taken late will spend its mesh budget compensating for a route that cannot be fixed.
Specifying to the Sequence
Once the order and the standoff are set, the specification is short. Five numbers carry it. The aperture size is both the containment decision and the number that fixes how far away the public has to stand. The rope diameter, from 1.2 mm to 3.2 mm, sets panel strength and visual weight together. The alloy is 304 inland, or 316 where the site is coastal. The panel format, up to 9 m by 18 m, decides how many frames and therefore how many posts stand in the view. And the mesh count is the check that a hand woven wire mesh panel is genuinely hand woven rather than a welded imitation.
The detail is the termination. Because the envelope is a filter and not a wall, wind load arrives at the fixings, and flexible cable netting is normally held by ferruled terminations that spread load across many strands, so the failure of one wire costs only a small share of the strand’s capacity. The animal enclosure mesh range is supplied for exactly that detail, and the barrier material itself — the part that answers the containment question rather than the visual one — is set out in our guide to invisible fencing and immersion design.
What Immersion Is Not
Two misreadings cost projects money. The first is that immersion means the absence of a barrier. It does not: the barrier is present, it is structural, and from some positions it will be visible. The design target is narrower and more useful — that the barrier is not the first thing the visitor resolves. The second misreading is that immersion is a photographic property. A render and a walk are different products. The render is a single frame chosen by the designer; the walk is a hundred frames chosen by the visitor’s feet, and the frames in between are the exhibit. That is why the trend language around immersion changes every year while the underlying discipline does not: new finishes, new planting palettes and new lighting all serve the same running order. For the wider direction of travel, our notes on current zoo exhibit design cover where the sector is heading, and a walk-through of how a species-led exhibit is designed around an animal shows the same order-of-encounter logic applied at close quarters.
FAQ
No. It requires a barrier the visitor does not resolve first. That is a sequencing problem before it is a material problem, and it is why the same mesh can produce a convincing exhibit on one route and a conspicuous cage on another.
Far enough that the panel is read as texture rather than as a grid, which in practice means several metres rather than arm’s length, and close enough that the animal’s resting position stays legible. Where those two requirements conflict, the standoff is fixed by the second and the planting carries the first.
Because it is not visible in a drawing. A plan shows objects and distances; immersion is a property of the order in which those objects are encountered by someone walking. The only instrument that measures it is the walk-through, which is also why our checks on visitor safety and immersion in predator exhibits are written from the route outward rather than from the panel inward.
Send us the route and we will specify the barrier that stays out of it. Give us the species, the enclosure geometry, the standoff you can afford and the exposure at the site, and we will return the aperture, the rope diameter, the alloy, the panel format and the fixing detail that suit the sequence you have drawn.