
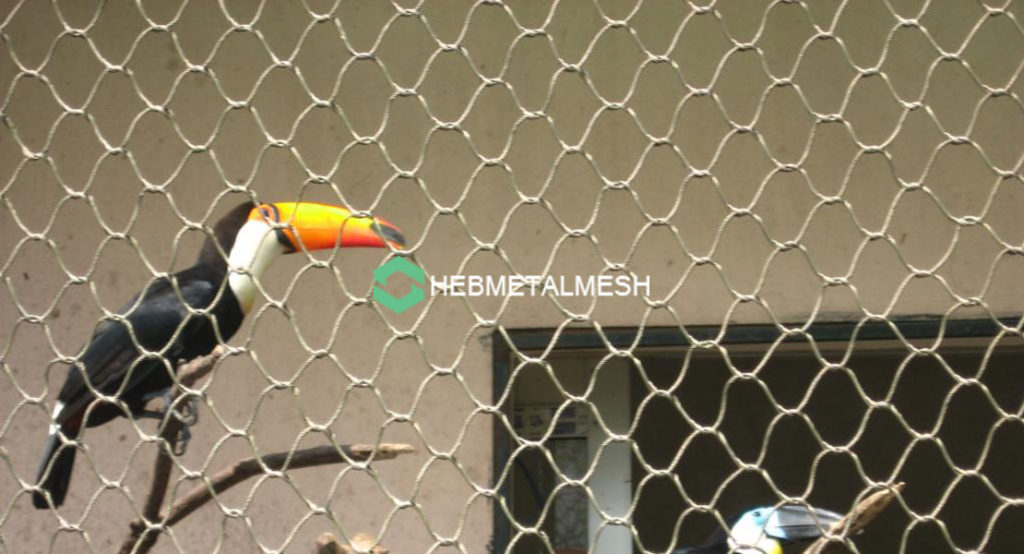
A pet cage fails in one of three ways. The wire lets the animal through. The wire catches the animal and holds it. Or the wire hurts the animal — a burr, a coating that comes off in the mouth, a metal that corrodes into the bedding. Everything else, including brand and price per square metre, is secondary. Building a pet cage is a small project with an unusually short list of numbers that matter, and every one of them comes from the pet’s own body.
Executive Summary
Three measurements settle a pet cage before any product is chosen. The aperture between adjacent wires must be small enough that the pet cannot pass its head and shoulders through, and large enough that a head or limb which does enter cannot be caught and held. The wire diameter is set not by the pet’s weight but by what the pet does to the wire: gnawing by rabbits and rodents, beak work by hooked bills, body pressure from larger birds and poultry. The coating is set by the air inside the cage, where urine breaks down into ammonia and a keeper wipes the wire down every week. Get those three right and the frame, door, tray and edging follow. The reference specification is the core product page product page.
Cage for a bird, a rabbit or a guinea pig? Tell us the species, the clear size you have in mind and where the cage stands, and we will send aperture and wire diameter options with a cost per panel.
Quick Answer:
Choose the aperture from the smallest head that must not pass through and the largest head that must not be trapped. Choose the wire diameter from the strength of the pet’s chew or push, not from its size. Choose the coating from what the inside of the cage does to metal, and finish every cut end so nothing sharp is reachable from inside. A 1.6 mm wire at a 25 mm aperture covers most small rodents and small birds; a 2.0 mm wire at 38 mm covers rabbits and medium parrots.
Key Takeaways
- The aperture is limited twice, at an escape limit below and an entrapment limit above; the right value sits in the window between them.
- Wire diameter tracks behaviour, not weight: a 2 kg rabbit damages a soft wire that a heavier bird leaves alone.
- Coating is an indoor decision — urine, ammonia, humidity and weekly cleaning chemicals decide which wire survives.
- Cut ends, door jambs and the bottom edge, not the middle of the panel, are where injuries and escapes happen.
- Frame and panel layout keep the wire flat and the inside face smooth; the hardware is where home builds leak.
These principles also hold at larger scale, which is why the companion-animal guidance published by the ASPCA reads the same way for one rabbit as it does for a zoo enclosure.
Measure the animal before you buy anything
The first job is measuring, and the measurement is behavioural rather than dimensional. Watch the pet for ten minutes and note the widest part of the body that must not pass through a gap, the head and forelimbs that could become trapped if they enter one, and the parts of the cage the animal works on with its teeth or beak. A budgerigar and a rabbit differ by more than an order of magnitude on all three, which is why a generic pet cage kit is a compromise at best. Good pet cage design works outward from the animal, so species, animal count and adult size are written down before a panel is ordered. A pet cage build guide that begins with the wire is a supplier’s guide; one that begins with the animal is a keeper’s.
Aperture has two limits, and they point in opposite directions
Wire spacing for pet cages is measured between the surfaces of adjacent wires, not between their centres, because the gap is what the animal meets. That gap has a lower bound and an upper bound. Below the lower bound a finch or a young guinea pig walks straight out. Above the upper bound a head, foot or jaw slides in and cannot withdraw — the failure that ends in a veterinary visit rather than a lost afternoon. The window between the limits is narrower than most owners expect, and for very small pets only a few millimetres wide. Ventilation sets a floor under the calculation: a nearly solid wall restricts airflow and concentrates ammonia, so the aim is the largest opening that still refuses the pet’s head. Aperture for pet cages is a two-sided sum, and both limits are worth writing down before comparing products.
| Pet | Aperture | Wire diameter | What sets the choice |
| Finch, canary | 20 mm | 1.2 mm | Escape limit |
| Budgerigar, small parrot | 25 mm | 1.6 mm | Head must not pass |
| Guinea pig | 25 mm | 1.6 mm | Head and forelimb entrapment |
| Rabbit | 38 mm | 2.0 mm | Sustained gnawing and body pressure |
| Medium parrot, poultry | 38 mm | 2.0–2.4 mm | Beak strength and lunging |
Wire diameter follows the chew, not the weight
Gauge for pet cage work is normally quoted in millimetres rather than in old gauge numbers, and it is a durability figure rather than a strength figure. The best wire for pet cages is the thinnest diameter that survives the pet, because a thicker wire reduces open area, costs more and makes the cage heavier to handle. What matters is the load path. A rabbit working the same spot every night flattens a soft 0.9 mm galvanized wire until the cell distorts and the aperture opens; that is not a strength failure by an engineer’s definition, but it is a containment failure all the same. Hooked bills do the same work by another route, so choosing wire for a pet cage is really a question of which of those two the animal will do. A wire held only at its ends behaves differently under a repeated point load from one woven into a panel, where the load spreads and no single element carries much of it. A braided strand is rated on the breaking load of the whole strand, and one damaged wire inside it costs only a fraction of that figure.
The coating is decided by the air inside the cage
A cage is a small, warm, damp box. Urine breaks down into ammonia, spilled water sits in the corners, and the wire is wiped down with a cleaner every week. That is harder on a coating than weather is on an outdoor fence, and it explains why cages that sound solid upstairs fail at the bottom edge. Galvanized wire protects itself with zinc that is consumed over time, fastest where the wire has been cut. Stainless steel needs no coating because the corrosion resistance is in the alloy, which is why it tolerates a long life of urine corrosion with no re-coating schedule. A vinyl coating is a coating, not a metal: it keeps zinc away from the mouth and softens the wire’s feel, but a determined chewer removes it, and once breached the cage behaves like plain galvanized wire with the added problem of swallowed plastic. Zinc toxicity is the concern behind that warning, and it is why a chewer should never work on galvanized metal unless the coating is intact and out of reach.
The failure modes are worth reading separately: how welded, chain-link and hand-woven formats fail explains why weld failure at a fused intersection and coating loss at a cut end are the two common starting points, and material selection for fencing covers how an exposure class eliminates a material before price is discussed. Pinching a galvanized washer against a stainless frame is a third trap, because dissimilar metals in a damp cage invite galvanic corrosion at the fixing the whole panel hangs from.
The cut end is the injury nobody inspects
Wire arrives on a roll or as a panel, and somebody cuts it to size. Every cut leaves a burr, usually on the inside face, a few centimetres from the animal’s eye. Three habits remove it. Cut so the cut end finishes outside the cage where the layout allows. Where it does not, close the end properly: fold it back into the frame, cap it with an edge strip, or run an edge cable through the last cell and close it with a swage ferrule so the panel finishes on a drawn line. Then run a hand along every accessible surface before the pet goes in — bottom edge, door opening, corners. A cage is checked from the inside, because that is the side the animal lives on.
Frame, panels and hardware: build the inside face smooth
The pet cage frame holds the wire flat and in tension, and its real enemy is deflection. A panel spanning too far between supports flexes when the animal pushes, and a flexing panel opens its aperture at the point of contact; two or three closely spaced supports along the bottom rail are worth more than a heavier gauge everywhere else. Cage panel assembly should leave the inside face smooth and flat. Clips, hog rings and staples belong on the outside, pointing away from the animal, and the same rule applies to door furniture. Pet cage hardware is where most home builds leak: a hinge loose on a single screw, a latch a clever animal learns in a week, a tray that slides out far enough to leave a gap at the corner. Gap size for pet cage doors and corners deserves as much attention as the panel, because the animal tests the edges long before it tests the middle. Where the build uses a woven stainless rope panel rather than a welded sheet, the reasons are set out in why hand-woven stainless steel netting outperforms welded and coated mesh, including how the mesh behaves at every cross point under repeated impact.
Build it so it can be cleaned
A cage is cleaned far more often than it is admired. Anything that collects waste and cannot be reached by a cloth is a design error: doubled wire in a corner, a rail with an open top edge, a solid back panel with a gap behind it. Flat removable panels, a tray that clears the bottom edge, and doors wide enough for a hand and a cloth are the three moves that matter. Keep to one cleaner that is safe around animals, rinse rather than soak, and dry the wire before the pet returns, because a wet cage is where corrosion starts. Most pet cage plans fail here rather than at the frame: the animal is comfortable and the keeper slowly stops cleaning the corners, which is when the bottom edge begins to go.
One page of numbers before you order
Capture the brief on a single page and the quotation becomes comparable instead of approximate. Record species and animal count, clear internal dimensions and the height the animal can reach, the aperture at both limits, wire diameter, alloy and finish, and whether the order is a panel or a roll with a take-off by area. Add frame spacing and fixing detail, edge treatment, door and tray arrangement, and the inspection interval. A short pet cage construction checklist like this is worth more than any cage building guide, because it forces the three measured decisions before price enters the conversation. It also makes cost legible: the drivers run in the order of wire diameter, then aperture, then panel size, then order quantity — the same order that governs animal fence and containment netting prices, and the reason a small domestic order cannot be priced from a zoo quotation.
FAQ
A stainless wire thick enough to resist the pet’s chew and fine enough at the aperture to refuse its head, with every cut end closed off. Safety here is a geometry and material question, answered by the same specification the animal fence mesh range is built around.
It is safe while the zinc coating is intact and the animal cannot chew it. Once the coating is broken at a cut end, the steel below is exposed and the zinc itself becomes the hazard for a hookbill or a persistent rodent. Stainless removes that question entirely.
Measure the adult rabbit’s head first and treat that as the escape limit, then let the head and forelimbs set the entrapment limit above it. A 38 mm aperture with a 2.0 mm wire sits comfortably in that window, and the wire diameter, not the aperture, is what stops a chewer widening the gap.
Yes, but as a durability rating rather than a strength rating. A wire that deforms under repeated gnawing opens its own aperture over months, so the smallest diameter that survives the animal is the right choice and anything heavier simply costs money, weight and open area.
Ready to size the wire for your cage? Send the species, the clear dimensions and where the cage will stand, and we will come back with aperture and wire diameter options plus a cost per panel — contact us here.