
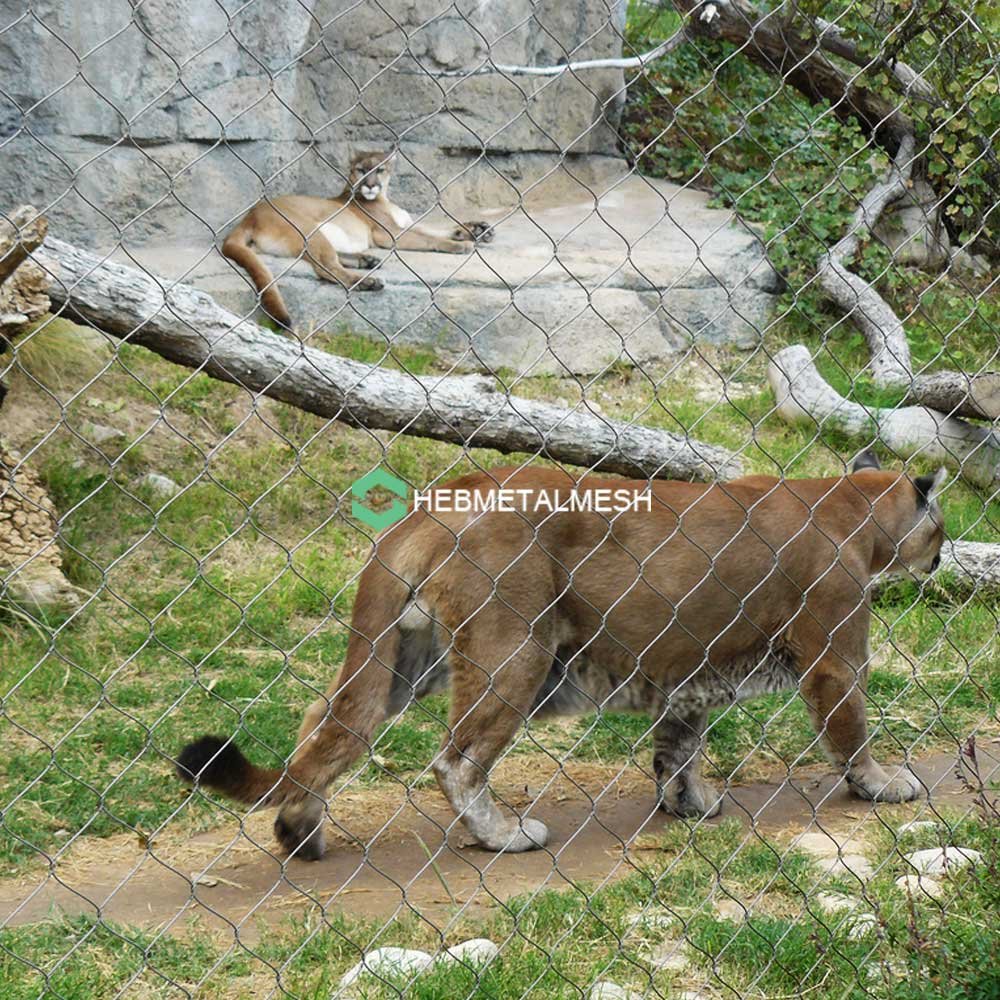
Animal escape behavior is the one specification input that never appears on a quotation, and it decides more of the final bill than any other. Every enclosure fence is asked to resist something specific — a hand that reaches, a shoulder that leans, a beak that worries at a joint, a foot that works the ground line. Buyers who start from a catalogue choose a material. Buyers who start from the animal choose a barrier that is still intact in year twelve. This multi setting fencing guide treats the farm, the family home, the wildlife sanctuary and the zoo as one method with three different emphases, and turns each escape mode into the number that belongs on the purchase order.
Executive Summary
An enclosure fence is a barrier against a behavior, not against a species. Read what the animal does to a barrier — climbs it, digs under it, leans on it, chews it — and the specification writes itself. Five behaviors cover almost every case: climbing, jumping or flight, digging or burrowing, pushing or rubbing, and gnawing or chewing. Each maps to one dominant number: height plus an overhang, clear height with no internal ledge, apron width and skirt depth, cable diameter with frame spacing, or aperture size with alloy and a burr free edge. Getting the mode wrong is expensive, because a fence written for a climber will not hold a digger. The sections below give the observational test for each mode, the physical counter-measure, and the way the same method is applied to livestock, companion animals and rescued wildlife.
The reference specification is the animal fence mesh product page.
Quick Answer:
Quick Answer: Animal escape behavior falls into five modes, and each one is answered by a different part of the fence. Climbers need height and an inward overhang. Jumpers need clear height with no ledge to launch from. Diggers need an apron at the surface and a skirt below it. Pushers need a heavier cable and closer frame spacing. Gnawers need a tight aperture and a smooth, burr free edge. Name the mode first, then specify, because a barrier sized for the wrong behavior fails in the first season.
Key Takeaways
- Watch the animal, not the catalogue. A week of observation — where it goes, what it touches — names the escape mode more reliably than a species list does.
- One mode usually dominates. Most species have a primary and a secondary mode; specify the primary fully and cover the secondary with the cheapest measure that works.
- The ground line is where budgets are lost. A dig barrier for animals costs a fraction of the fence above it and prevents the most common failure in the field.
- Behavior is not fixed. New arrivals, breeding seasons and feed changes all shift what an animal will attempt, so leave margin in the specification.
- The answer is a specification line, not a product. Aperture, cable, alloy, panel format, frame spacing and fixing detail is the whole decision.
Enclosure design teams publish their working drawings through ZooLex, the zoo design archive, and the escape-mode logic below follows the same principle those plans use: settle what the animal will do, then draw the barrier around it.
Read the Animal First: The Five Escape Modes
Before a fence is chosen, the animal is read. The practical version of this is an escape mode assessment: watch through a full activity cycle, note every interaction with an existing barrier, and record which part of it the animal targets. An escape mode assessment takes a keeper an hour and prevents the single most expensive mistake in enclosure work, which is specifying against the wrong behavior. Climbers go up. Burrowers go down. Pushers go sideways, into the panel. Gnawers go along the edge, at the joints and the closures. Jumpers and fliers go over.
| Escape mode | What the animal does | The number it sets |
| Climb | grips the grid, tests the top line | height plus an inward overhang |
| Jump or flight | clears a line it can see over | clear height, no internal ledge |
| Dig or burrow | works the ground line | apron width and skirt depth |
| Push or rub | loads the panel with body weight | cable diameter, frame spacing |
| Gnaw or chew | worries at an edge or a closure | aperture size, alloy, edge finish |
Climbing, Jumping and Flight: Managing the Vertical
Animal climbing prevention is mostly a geometry problem rather than a strength problem, which is why two barriers of identical material behave completely differently. Take any fence for climbing animals: the first question is whether the mesh offers a foothold. A welded grid of rigid intersections gives fingers and toes a step. Hand-woven rope mesh does not, because the strands yield under a grip and the surface stays smooth. The second question is the top. An inward overhang of 0.5 to 1 m removes the last reach, and where a roof is preferred to an overhang, a full roof panel closes the enclosure completely.
For jumpers, the working figure is clear height with nothing to launch from. A horizontal brace, a feeding shelf or a projecting post head converts a 1.8 m wall into a 2.4 m one for an animal that can jump 1.8 m. Where a release site sits beside a perimeter line, keep the gap between the two below 100 mm, so the outer barrier cannot be used as a step on the way up.
Digging and Burrowing: Aprons, Skirts and the Dig Line
The question of how to keep animals from digging under a fence is answered below the ground line rather than above it. A fence for digging animals needs an L-shaped detail: an apron laid on the surface and pinned, or a skirt taken down 300 to 600 mm and turned outward. Either works, because animals dig at the base of the barrier and meet the return before they are through.
A fence for burrowing animals is judged by the same detail at a larger scale, because burrowers work in tunnels and can pass a shallow skirt. Specify a deeper return and, on sand or loose fill, a concrete strip at the transition. The dig barrier for animals is the cheapest component in the whole system — a metre of extra mesh and a set of ground anchors — and it removes the most common cause of loss on the site. On soft substrates, compact the backfill and record the dig line, so a later extension does not cut through the apron.
Pushing, Rubbing and Gnawing: Load, Aperture and Alloy
Animal pressure on fence is a design load like wind or snow, and it should be treated as one. A large animal leaning on a panel applies a steady force that grows with body mass, while a charging animal applies an impact. Both are carried by the cable first and the frame second, so a heavier cable diameter raises the capacity of the whole system, and closer frame spacing shortens the unsupported span that produces most panel deflection.
Record pawing damage fence as maintenance data rather than as bad luck: repeated repairs at one point mean the frame spacing there is too wide for the animal standing behind it. Gnawing damage fence points the other way, at the material and the edge. A fine aperture size denies a tooth purchase, a harder stainless steel grade resists wear, and a burr free edge removes the point where the habit starts. Beak damage netting fails for a third reason — not by cutting through but by fatigue at a single wire — which is why a 7×7 rope, with its breaking load shared across 49 wires, outlasts a welded grid under repeated pecking.
From Escape Profile to Specification
Behavior driven containment ends in one line on a purchase order. Write the escape mode first, then the numbers: aperture and cable from the two-numbers rule, alloy by exposure, panel format by the span, and frame spacing from the load. Add the containment detail the mode demands — overhang, roof or apron — and the fixing allowance, which typically adds 10 to 20 percent to a mesh-only figure. Projects lose money here rather than on the mesh, because the fabric is priced carefully while the edge cable, ferrules, tensioners and anchors are left as a contingency. Ask for them in the same document.
Where the wire itself has to be compared between suppliers, the netting wire construction guide sets out the four numbers that make two quotations comparable. Where the job has to satisfy a certifier, the fencing certification and documentation guide lists the paperwork that will be requested.
One Framework, Three Settings
The same method reads differently in each setting. Fencing for livestock operations is driven by pressure and by handling: cattle lean, sheep rub and pigs root, so cable and frame spacing carry the specification and the apron is a secondary measure. At home the dominant modes are digging and climbing, and the constraint is usually appearance — a low-visibility mesh that keeps a dog in and a cat out without turning a garden into a compound.
Wildlife rehabilitation fencing adds a third requirement, because the animal is a patient rather than a resident. Enclosure geometry has to prevent injury during recovery, so smooth edges, no projections and a mesh that absorbs impact matter more than stock pressure, and the release side of a site is normally specified separately from the holding side. In zoo and sanctuary work all five modes appear at once across a collection, which is why the assessment is done per enclosure rather than per site, and why one animal’s specification should never be assumed to suit its neighbour. Before an order is placed, the factory and supplier check covers how to verify a mill certificate and a break-load test report.
Specifications, and the fence and mesh panels that meet them, are produced to the escape mode a buyer names — cloth for climbers and fliers, ground details for diggers, heavier rope for pushers, tighter aperture for gnawers.
FAQ
Digging. It is the most common cause of escape in domestic and farm settings and the cheapest to prevent, because an apron or a shallow skirt costs a fraction of the barrier above it. Settle the dig line before you spend anything on extra height.
No. Load capacity and behavior are separate problems. A heavier cable diameter settles the pushing mode and does nothing about a burrow, a jump or a gnaw. Match the counter-measure to the mode and treat strength as one input among five.
A full activity cycle — at least a week, including feeding and, where relevant, the breeding season. Behavior that never appears in the first two days usually appears as a damaged panel in the third month.
Usually yes, and cheaply. Most retrofit work is a ground-level addition: an apron for a digger, an overhang for a climber, closer frame spacing for a pusher, or an alloy change where corrosion resistance is the real problem. Diagnose the mode from the damage pattern before ordering anything.