
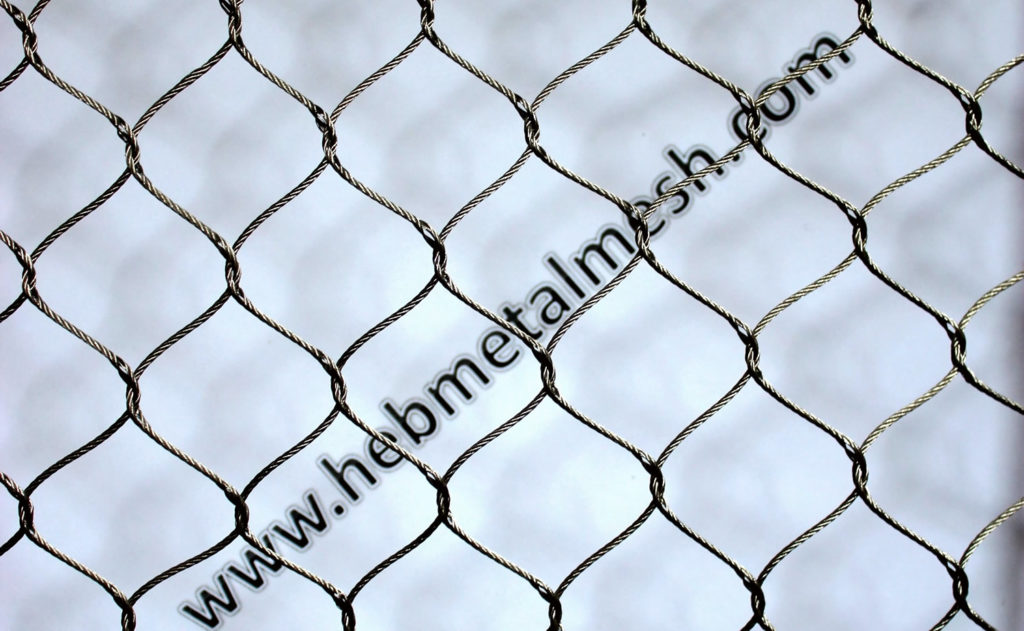
A zoo enclosure is never a rectangle. It curves over the visitor path, wraps a rock outcrop, and closes into a dome that no tape measure will follow. The netting order still reduces to flat panels with fixed widths and one fixed wire direction.
That gap between the shape on site and the panels in the crate is where netting projects lose money. Panels arrive short at the springing line, long at the haunch, and the seam lands where visitors can see it.
Nobody measures wrong on purpose. They measure the plan outline, multiply by height, and hand the number to a fabricator who has never stood on site.
Zoo enclosure netting measurement closes that gap. It is a sequence, not a single number, and it ends with a document a workshop can build from without calling you back. The stages below are how to measure a zoo enclosure for netting before you commit to a panel order.
Executive Summary
Zoo enclosure netting measurement runs in four stages: survey the structure, break it into measurable surfaces, compute true surface area rather than plan area, then convert it into panels with defined seams and allowances.
The survey fixes control points. The surface breakdown handles curvature.
The area step uses shape formulas, not width times height. Panel conversion is where stretch, edge cable take-up and waste enter, and where most takeoffs quietly fail.
Run the stages in order and the quote, fabrication and install follow. Skip one and the error compounds, because a panel cut to a wrong number cannot be fixed on site. A check that catches a bad takeoff costs an afternoon; the same error found after fabrication costs a re-order.
Quick Answer
Zoo enclosure netting measurement starts with a control-point survey, then breaks each curved surface into simple shapes so you can calculate true area instead of plan area. That area converts into flat panels with set seam lines, a chosen wire direction and allowances for stretch, edge cable take-up and waste. Send the panel schedule with the drawings, not a single square footage figure.
Key Takeaways
- Plan area undercounts a curved enclosure, often by 20% to 40%.
- A surface that cannot be flattened needs a seam, and seam placement is a design decision.
- Stretch, edge cable take-up and waste belong in the takeoff, not buried in a supplier’s margin.
- Panel width is limited by shipping, handling and the wire direction the animal load demands.
- A takeoff works only when a fabricator can build from it without asking a question.
- Two independent measurement methods catch the errors that one method hides.
Why Plan Measurements Undercount a Curved Enclosure
Draw the outline of a barrel-vaulted flight cage and you get a rectangle. Wrap netting over the vault and you need about 1.57 times the flat width, because a half circle is longer than its diameter. Somebody pays for that extra area.
Curvature splits into two families. That split sets curved surface area for netting panels, and it decides whether you need a seam at all.
A surface that can flatten without tearing, such as a cylinder or a cone, develops into a flat pattern cleanly. A dome or a saddle cannot. Those need panels cut to a pattern, or enough seams to approximate the shape.
This is why a flat panel order against a domed aviary always comes up short. Netting panel layout for a dome enclosure is not rectangles bent over a frame. It is tapering gores, each a different width at top and bottom.
The curved enclosure netting options we weave handle that taper, but only when the takeoff states where each panel starts and ends. A supplier cannot infer gore geometry from a total area.
The Takeoff Sequence
Work through these in order. The steps hold for a netting takeoff for a walk-through aviary or a drum cage; only the surface list changes. Jumping to the area calculation is the usual mistake.
- Walk the structure and fix control points. Mark the corners, the springing line, the apex and every frame node with a reference you can return to.
- Break the envelope into named surfaces. Roof, walls, end walls, door returns, rockwork. Name them so the schedule can refer to them later.
- Classify each surface as developable or not. Cylinders and cones flatten. Domes, saddles and freeform rockwork do not.
- Measure each surface by its own geometry. Use the formulas below rather than a general length times height.
- Add the allowances. Stretch, edge cable take-up, ferrule tails and waste, each stated as a number.
- Set panel width and seam lines. Decide where joins fall and which way the wires run.
- Produce the panel schedule. One row per panel, with size, orientation, edge treatment and fixing points.
Step six can send you back to step two. A surface that needs a seam in an ugly place may be worth dividing differently.
Working Out True Surface Area
Each shape has one formula worth knowing. Keep units consistent and write the working down, because a takeoff with no visible arithmetic cannot be checked.
| Surface | Formula | Worked example | Note |
| Flat wall | width × height | 8 m × 4 m = 32 m² | Measure to the frame centerline |
| Barrel vault roof | π × span × length ÷ 2 | 3.14 × 6 m × 20 m ÷ 2 = 188 m² | Half cylinder over a rectangular plan |
| Full cylinder wall | π × diameter × height | 3.14 × 8 m × 5 m = 126 m² | Common on drum-shaped cages |
| Cone roof | π × radius × slant height | 3.14 × 5 m × 7.1 m = 111 m² | Slant height, never vertical height |
| Hemisphere dome | 2 × π × radius² | 2 × 3.14 × 25 = 157 m² | Use for the cap only, not the full sphere |
| Irregular rockwork | Triangulated panel by panel | Sum of 40 triangles | Photograph each panel with a scale bar |
Two details catch people. A cone measured with vertical height instead of slant height comes out short every time. And a dome is rarely a true hemisphere, so split it into a cap and a skirt.
Surface area drives cost, but volume drives what the animal can do with the space. A generous square meter count over a shallow dome still leaves a bird nowhere to fly. The welfare standards published by WAZA treat usable three-dimensional space as the measure that matters.
Where the Allowances Come From
A takeoff that matches the structure exactly will still arrive short. A netting stretch allowance calculation puts that movement back in, and hardware consumes length the area never sees.
- Stretch and sag. Allow 2% to 4% on spans over four meters. Long unsupported runs sag more, and a sagging panel pulls its edge cable inward.
- Edge cable take-up on rope mesh. Cable runs a longer path than the panel edge because of curvature and terminations. Add 3% to 5% to the cable length, not the mesh area.
- Ferrule tails. Each termination eats 75 mm to 100 mm of cable. Count terminations, then multiply.
- Waste factor. Add 5% for regular panels and 8% to 12% for tapered gores, because offcuts on a taper cannot be reused.
- Cutting tolerance. State it. A ±10 mm tolerance on a 2 m panel is normal and has to be agreed before fabrication.
Put each allowance on its own line. One inflated total hides which allowance was applied, which makes two quotes hard to compare.
This is where made-to-measure earns its cost. The custom panel service works from a panel-by-panel schedule, so the allowances you calculate get cut.
Setting Panel Width and Seam Lines
Flat panel sizes from a 3D enclosure hit a ceiling in three places. Shipping sets the hardest limit, handling sets a practical one, and the animal sets the wire direction.
A standard container gives roughly 2.3 m of clear internal width. Anything wider ships as a special or gets folded, and a folded wire rope mesh panel never lies flat again. For handwoven stainless steel 304, 2 m to 3 m is the range.
Netting panel orientation and wire direction are the constraints people forget. Rope mesh carries load along the strands, and the seamless panel construction we weave lets you orient that direction to suit the load rather than the roll. On a tall wall, run it vertically so the panel hangs from the top edge cable.
Seam placement follows three rules:
- Keep seams off the public sightline.
- Keep them away from where animals push hardest, usually the lower third and the door reveal.
- Align seams with frame members so the lacing has something rigid to pull against.
What to Send a Netting Supplier
A fabricator builds what the document says. Knowing what to send a netting supplier for a quote separates a firm price from one with contingency baked in, and you pay it either way.
Send this pack in one folder:
- Dimensioned drawings with the panel schedule keyed to them.
- A marked-up photograph of each elevation, with the panel numbers drawn on.
- The species list, because bite force and climbing style decide the animal enclosure mesh specification.
- Aperture size and cable diameter, or the requirement that lets us size them for you. Aperture sets open area.
- Edge treatment for every boundary, including door reveals and rockwork contact.
- The fixing detail, so terminations match the frame rather than being adapted later.
- Delivery sequence, if the exhibit opens in phases.
The specification behind the schedule should name the alloy, aperture, cable diameter and breaking load. Those four values decide whether the panel holds a macaw or a tiger, and none reads off a square meter total.
Checking the Takeoff Before You Order
Measure twice with two different tools. A laser distance meter and a drone survey of a zoo enclosure roof will disagree somewhere, and the disagreement is useful: it points at the surface you misunderstood.
Then run three sanity checks:
- Compare total area against the framing quantity, since 200 m² of frame rarely needs 60 m² of netting.
- Compare panel count against frame bays.
- Confirm every panel has a stated orientation.
Checking a netting takeoff before ordering ends with handing the schedule to someone who did not measure it. Ask them to state the panel count and total area from the document alone. If they cannot, it is not finished.
Once panels arrive, the zoo mesh installation sequence decides whether the takeoff survives contact with the frame, especially on the last panel.
Where Local Supply Fits, and Where It Doesn’t
A search for netting near me returns fabricators within driving distance, and for a standard rectangular aviary panel that is a fair answer. Local supply wins on freight, on replacement speed and on walking the site with the welder.
Custom rope mesh is a different purchase. Handwoven panels in stainless steel 304 with a specified aperture and a tapered gore are made to a schedule, not pulled from a shelf. Distance matters less than whether the workshop can read the takeoff.
That reframes the buying question. Instead of who is close, ask who will build to your panel schedule and confirm the tolerances in writing. A supplier 8,000 km away that returns a marked-up drawing beats a local shop quoting a total area.
The animal enclosure mesh range we produce ships against a panel schedule for that reason. The takeoff is the contract, and the drawing review before fabrication removes most of the risk.
FAQ
Yes, with the animals shifted to a holding area. Laser measurement of a zoo enclosure from outside the barrier covers walls and posts. Roof and dome surfaces need a drone pass or a platform, because a tape run over occupied airspace is not worth it.
Measure to the frame centerline and state that convention on the drawing. Measuring to the outer face adds half a frame depth to every dimension. That compounds around a corner and throws off seam placement on zoo netting panels.
The netting waste factor for custom panels runs 5% on regular work and up to 12% on tapered gores, on top of the stretch and edge cable allowances. Keep one spare per common size, because the panel you cannot buy in week one holds up the opening.
Not for a custom panel. Photographs show shape but not scale, and a missing reference turns a 6 m span into a guess. Use photos to explain the surface, dimensions to specify the panel.
To measure an irregular enclosure footprint, triangulate it. Fix control points on the rock, measure each triangle with a laser, and record results panel by panel. Freeform surfaces never reduce to one formula, and pretending otherwise is how a rockwork aviary ends up with netting that misses the ground.