

A pet that chews does not attack the middle of a panel. It works a corner. It worries at the spot where a zip tie holds mesh to a frame, or the loose edge a previous owner left folded back. Give it a gap the width of a pencil and it will spend the afternoon making that gap wider.
That is why so many indoor enclosures fail in the same place. The mesh was strong enough. The build gave the animal something to grip.
This page is about the second half of that problem. Below is where chewers actually win, which panels survive a determined animal, how to size mesh by species, and the build details that remove the leverage before your pet finds it.
Executive Summary
A chew proof pet enclosure mesh depends on what surrounds it as much as on the mesh itself. Handwoven stainless steel rope mesh has no weld to break and no coating to strip. Loose edges, plastic ties, softwood frames and door gaps defeat it in a week.
Six points decide the outcome: corners, edges, frame, fixings, door and base. Fix all six and a rabbit, ferret or cat tests the enclosure and gives up.
Species sets the numbers. Aperture runs tighter than the smallest head that must not pass, wire diameter survives bite force, and the frame outlasts the teeth.
Quick Answer
A chew proof pet enclosure mesh needs a wire the animal cannot bite through, a panel with no weld or coating to attack, and a frame with no soft edge to gnaw. Handwoven stainless steel rope mesh at 1.5 mm to 2 mm cable covers most indoor pets. Build details matter more than mesh grade, because that is where chewing succeeds.
Key Takeaways
- Chewers attack joints, edges and gaps, never the open middle of a panel.
- Welded mesh fails at the weld, coated mesh fails at the coating, plastic fails everywhere.
- Aperture protects the head; wire diameter protects the panel. They solve different problems.
- Zip ties are the single most common chew-through point on a home-built enclosure.
- A 10-minute monthly check finds damage while it is still a repair rather than a rebuild.
- Species behavior, not body size, tells you how hard the animal will work at escaping.
Why Chewers Win Against Most Enclosures
How to stop a pet chewing enclosure mesh is a question about leverage, not strength. Rodent incisors grow for life, which means gnawing is not mischief. It is maintenance the animal has to perform. A rabbit or guinea pig works on anything softer than its teeth, and a wooden hutch frame is softer than its teeth.
Ferret owners meet a different version of the same problem. A ferret does not chew to wear its teeth down. It pushes, paws and tests every opening with its skull, and a gap that admits a head admits the animal.
Cats sit between the two. An indoor cat enclosure mesh specification usually comes down to claws and body weight rather than teeth, but a bored cat works a weak seam for hours.
The pattern across all three is the same. The animal finds the one flexible point in a rigid system and repeats the same motion until the point fails. Zoo keepers meet it at a larger scale, and cage wire that survives a chewer fails there for the same reasons.
What “Chew Proof” Actually Means
No mesh is chew proof against every animal. The honest question is what a given panel does when something bites it, and how quickly a keeper can see the damage.
| Mesh type | What a chewer does to it | Verdict for indoor pets |
| Hexagonal chicken wire | Deforms, cut ends open up, zinc coating flakes | Not suitable — injury risk before escape risk |
| Galvanized welded wire | Breaks welds at stress points, rusts at cut ends | Short life with any persistent chewer |
| Plastic garden mesh | Gnawed through in a single night | No containment value |
| PVC-coated welded mesh | Coating strips off, bare wire underneath corrodes | Poor — the coating becomes the chew target |
| Welded stainless mesh | Strong wire, but the weld is a hard point that cracks | Fair for light chewers only |
| Handwoven stainless rope mesh | Wire flexes, no weld to break, no coating to remove | Best available for indoor pets |
The plastic row is worth pausing on. Rodent gnawing through plastic mesh is so routine that hardware stores sell the panels as temporary barriers.
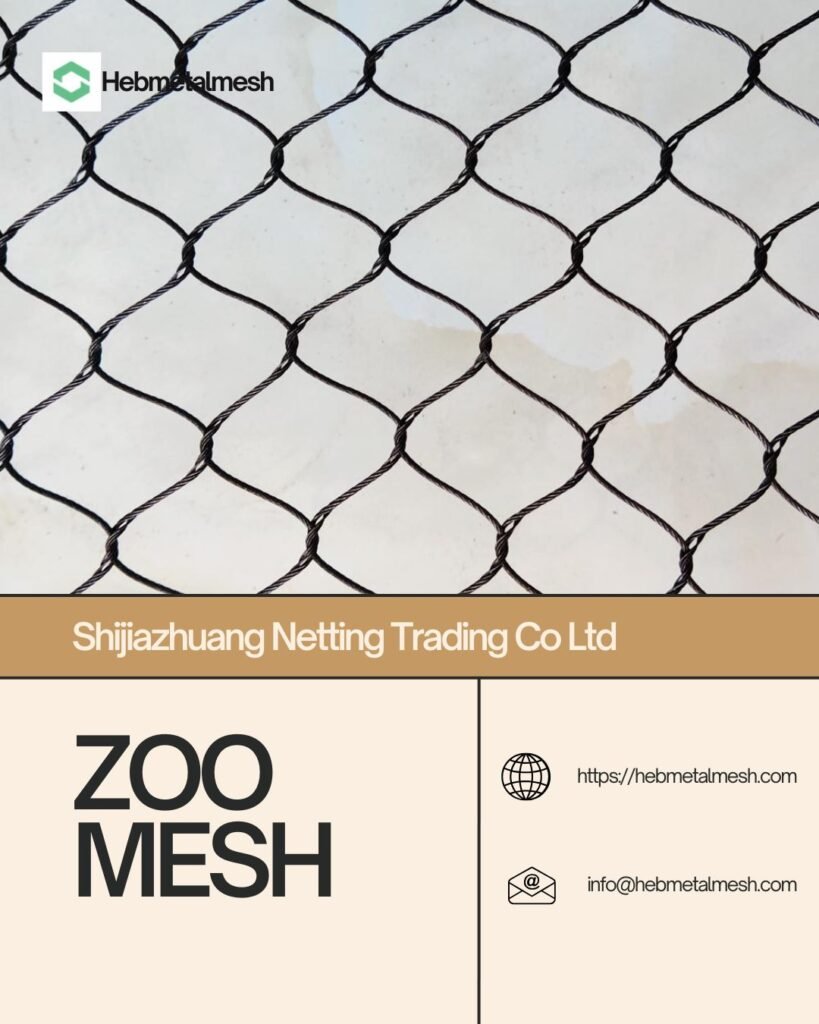
A handwoven wire rope mesh solves the weld problem by removing welds, which is how our animal enclosure mesh is built. Each wire runs continuously through a ferrule, so a bite loads the wire in tension instead of cracking a joint. That is why the same material survives zoo animals with far more bite force.
The Six Points a Chewer Tests
Work through these in order when you plan a build. Each one is a place where a strong panel becomes a weak enclosure.
Corners and edges
Corners concentrate load, and loose mesh ends are a grip. A pet that can hook a tooth under a folded edge will peel the panel back from that edge inward.
This is where pet enclosure mesh edge protection earns its place. Fold the mesh back on itself, cap the cut ends, and clamp the fold to the frame so there is no free edge anywhere the animal can reach.
Frame and fixings
Pet enclosure frame material for chewers comes down to hardness. Softwood gives way. PVC tube gives way faster. Powder-coated steel or aluminum resists, provided the coating is intact.
Chew points at frame and fixings are usually not the frame at all. They are the tie, the clip or the staple holding mesh to it. Replace those with stainless wire clips or bolted clamps and the animal loses its grip. Our stainless rope mesh panels arrive with the clamp detail included, because fixings are what home builds get wrong.
Doors and latches
An escape proof pet enclosure door latch has to defeat a paw, not a hand. Simple hooks lift. Sliding bolts work loose. A latch that needs two motions, or a carabiner through a hasp, holds against most indoor pets.
Check the door gap too. A door that swings true in July can gap in January.
The base
Most home builds stop at the floor line and assume the pet stays inside. A rabbit digs at a soft base, and a ferret pushes at the join until it opens.
Run the mesh down to the base and fix it there. If the enclosure sits on carpet, use a rigid base panel rather than trusting the carpet as a floor.
Beyond the six points
A pet that destroys its enclosure is usually under-stimulated, and a stronger panel only contains the symptom. enrichment for indoor pets treats chewing and digging as needs to be redirected rather than behaviors to be suppressed.
That is where enrichment earns its keep. A dig box, a hiding space and chew-safe items reduce the pressure on the mesh more than any upgrade in gauge.
Sizing Mesh for the Animal
Two numbers do the work, and they answer different questions.
- Aperture stops the head. Measure the narrowest point of the smallest adult in the group, then take a panel tighter than that with margin. Aperture size is measured between wire surfaces, not centres.
- Cable diameter survives the bite. A thicker cable raises bite resistance and panel weight together, so pick the thinnest one that holds, not the heaviest on the price list.
- Open area decides light and airflow. A tight aperture with a thick wire closes the panel up and turns the enclosure into a box.
- Panel span sets sag. Wide spans need an intermediate support, or the mesh bellies and gives a chewer a slack surface to work.
That point catches people out, and wire spacing for pet cages is where the confusion starts.
Mesh aperture for small pets usually lands between 25 mm and 40 mm. For a ferret proof mesh size in an indoor enclosure, run 25 mm or tighter, because a ferret’s skull is the measurement that matters and it is smaller than the body suggests.
A puppy playpen mesh gauge can run heavier, because a puppy chews with less commitment and loads the panel by jumping. For a rabbit chewing wire cage bars, the failure is rarely the bar. It is the galvanized coating coming off and the wire underneath rusting through at the point of contact.
Building So There Is Nothing to Chew
The build sequence matters as much as the parts list. Build a pet enclosure without chewable corners and most chewing problems never start. A rigid fence panel does more for that than a heavier wire.
- Set the frame first and check it for square before any mesh goes on.
- Cut panels oversized by one aperture, then fold the surplus back and clamp it. Never leave a cut end exposed on the inside face.
- Fix mesh with stainless wire clips or bolted clamps at every 150 mm to 200 mm, and at every corner.
- Cap all cut ends, on both faces, before the animal goes in.
- Fit the door last, and test the gap with a finger before you test it with the pet.
- Run a bare hand over every internal surface. Anything that catches a nail will catch a tooth.
On zip ties versus wire clips on pet mesh, the answer is blunt. Zip ties are fine as a temporary hold while you position a panel. They are not a fixing. A determined rodent severs a nylon tie in minutes, and a cat’s tooth does the same.
Catching Damage Before It Matters
A chew damage check on pet cage mesh takes about ten minutes a month and saves the cost of a rebuild.
- Run a hand along every edge and corner for loose mesh or a lifted fold.
- Look at each fixing for chew marks, and replace any tie that shows a nick.
- Check the frame at floor level, where urine and chewing do the most damage together.
- Open and close the door, then look at the gap on the latch side.
- Photograph anything you find, so next month’s check has a baseline.
Small pets hide damage well. A finger-width hole looks minor and becomes an escape route within a week, because the animal keeps working the spot.
Patching or Replacing a Chewed Panel
Replacing a chewed mesh panel is usually the cheaper decision, even though it feels like the expensive one. A patch on a woven panel disturbs the tension around it, and the repair becomes the next failure point.
Patch only when the damage sits away from an edge, the wire around it is sound, and the panel still holds tension. If the grade itself was the problem, compare stainless against galvanized and plastic before you order the same panel again. Replace when a ferrule has slipped, when more than one wire is broken, or when the damage reaches a fixing. Photograph the damage before you touch it, because the pattern tells you which failure you are dealing with.
FAQ
Not through the wire itself, at any diameter we supply. A rabbit can wear at a coating, worry a loose edge or work a fixing until the panel comes free. The mesh survives; the build fails.
25 mm or tighter, measured between wire surfaces. A ferret’s head is narrower than its shoulders, and it pushes a skull through a gap that looks too small. If unsure, measure across the cheekbones and subtract a margin.
Yes. Stainless steel 304 is the same alloy used in food equipment, and it has no coating to ingest. That is the practical difference from galvanized mesh, where the zinc layer is the part a pet licks off, and from PVC-coated mesh, where the coating can be chewed away in strips.
Take the animal out first, then look at where the hole started rather than how big it is. A hole that began at an edge means the build has a grip point to remove. A hole that began mid-panel means the grade was wrong for that species.
A stainless rope mesh panel costs more than a softwood hutch up front and less over five years, because the hutch needs rebuilding after a season of gnawing. Price the panel by square foot, add frame and fixings, then compare that total against two hutches.