
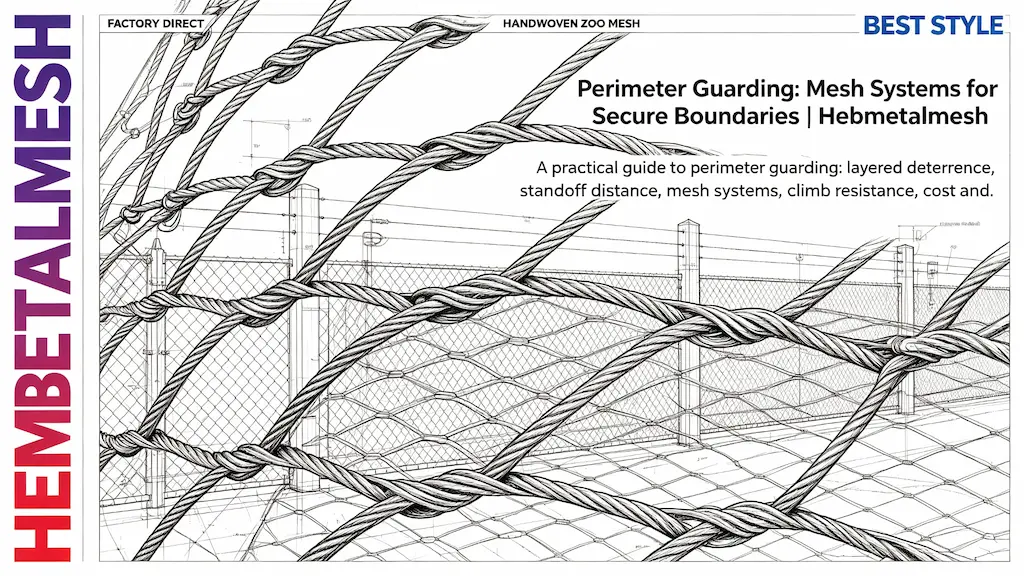
An intrusion attempt is decided in the first ninety seconds. That window is what a perimeter is really built to control, which is why perimeter guarding works as a sequence of layers — deterrence, detection, delay and response — rather than as a single fence. The mesh you choose sits in the delay layer, and it is the cheapest part of the system to get wrong. For most facilities the right answer is hand-woven stainless steel rope mesh at a 38–51 mm aperture on a 2.0–2.4 mm cable: it keeps roughly 88% of the panel open for sightlines and cameras, presents nothing a hand or a foot can lock onto, and does not fail at a single joint the way a welded grid does. Fix the delay time you need first, then buy the mesh that delivers it.
Executive Summary
Perimeter guarding is four layers, and each one has to hand the intruder to the next. Deterrence is visible and costs almost nothing; detection is electronic and tells you something is happening; delay is physical and buys the response team its minutes; response is the only layer that actually stops anyone. A vulnerability assessment usually shows that money spent on the delay layer returns more than money spent on another camera, because detection without delay just produces footage of a successful theft. That is the layer stainless steel mesh belongs to. Its value is not that it is unbreakable — nothing is — but that it fails gradually and visibly while staying tensioned, so the attempt takes minutes rather than seconds and the alarm has time to mean something. The reference specification is the core product page product page.
Specifying a boundary this year? Send the perimeter length, the site category and the delay time you are working to, and we will return a panel layout, a fixing schedule and a budget figure.
Quick Answer:
Quick Answer: Specify perimeter guarding mesh as hand-woven stainless steel rope mesh at a 38–51 mm aperture on a 2.0–2.4 mm cable, in panels up to 9 m × 18 m on supports at 2.5–3.5 m centres. Allow a 500 mm standoff from anything climbable, keep 88% open area so cameras and detection beams stay unobstructed, and budget $20–38 per m² as a planning range with fixings adding 10–20%.
Key Takeaways
- Four layers, not one fence. Deter, detect, delay, respond — mesh is the delay layer, and it is judged by the minutes it buys.
- Aperture 38–51 mm, cable 2.0–2.4 mm blocks hand and foot holds while keeping the panel visually open.
- Rope mesh fails gradually, welded mesh fails at a point. One broken wire in a 7×7 strand costs about 2% of that strand’s strength.
- Standoff and tension matter more than thickness. A taut panel 500 mm off a wall cannot be levered or climbed.
- Open area is a security feature. A solid panel blinds infrared detection; an 88% open mesh does not.
Perimeter security guidance published by the Centre for the Protection of National Infrastructure treats detection, delay and response as one timeline, which is why the delay figure is set before any material is ordered.
What Perimeter Guarding Is Actually For
Most perimeter guarding systems are not defeated by cutting; they are defeated at the seams between layers. A fence that delays for four minutes is only useful if detection happens in the first thirty seconds and response takes less than four minutes to arrive. Run the numbers on your own site before choosing a material, because that arithmetic — not the mesh catalogue — decides how much steel you need.
Perimeter guarding design therefore starts with the vulnerability assessment: what is on site, who wants it, and which approach route is easiest. Walk the boundary at night and time yourself. A gate, a loading bay, an adjacent wall and a service ladder all shorten the attack; those are the sections that justify a heavier panel, and the rest of the boundary can stay lighter for the same budget. Site perimeter guarding and property perimeter guarding are also different briefs. A production site is judged on downtime and stolen assets, while a private property is usually judged on occupancy signals, which is why a residential boundary can lean on layered perimeter guarding — a fence plus lighting plus a monitored alarm — instead of one expensive barrier. Owners mixing domestic and commercial priorities often end up anchored on animal and property barrier mesh for the same reason: one material that does two jobs.
The Mesh Layer: Rope Mesh, Welded Mesh or Chain-Link
The three formats fail in three different ways, and the difference only shows up under attack. Welded mesh gives way at a fused intersection: the weld is the thinnest point of the coating, so it corrodes first, and once the grid opens the rest of the panel is irrelevant. Chain-link is a single continuous bent wire hooked to its neighbour, so one cut link deforms the surrounding diamonds and slackens the whole run — the repair is a re-tensioning job, not a patch. Hand-woven rope mesh behaves like a textile: each strand is a 7×7 rope of 49 wires, so a single broken wire costs roughly 2% of that strand’s capacity and the panel keeps its tension.
That difference is what cut resistance really means. No mesh defeats powered cutters, and anyone promising otherwise is selling a story. What rope mesh does is turn a fast cut into a slow fight, which is the whole point of a delay layer. It also preserves the sightline: perimeter guarding mesh at a 38 mm aperture is about 88% open, so a guard, a camera or a neighbour still sees through the boundary, and light reaches the ground behind it. Perimeter guarding netting in a galvanised grade looks cheaper until you cost the recoating and the joint corrosion — a stainless panel against a mild-steel post drives corrosion at the contact point unless the two are isolated, and the trade-off is laid out in this galvanised versus stainless cable mesh comparison.
| Format | How it fails | Repair | Best use |
| Welded mesh | Weld shear opens the grid | Replace the panel section | Low-risk infill |
| Chain-link | Broken link deforms neighbours | Re-tension the run | Long, low-value runs |
| Hand-woven rope mesh | One wire at a time, panel stays taut | Local splice | Delay layer on high-value boundaries |
Climb Resistance, Standoff Distance and Tension
A fence is climbed, not cut, far more often than most sites assume. Climb resistance comes from three things in order: nothing to grip, nothing to stand on, and no slack to exploit. A 38–51 mm aperture is too small for a boot toe and too large to grip comfortably by hand, which is why anti climb perimeter mesh is normally specified in that band rather than at the tighter sizes used for small animals. Where a brief does call for a high security perimeter mesh, the change is almost never a tighter aperture — it is a heavier cable, a shorter support spacing and a monitored top run. The top of a boundary security netting run should return inwards rather than finishing flush, and any horizontal rail, brace or cable that a person could stand on should be treated as a ladder rung.
Standoff distance is the detail that decides whether a good panel is actually good. A mesh hung directly against a wall, a downpipe or a roof edge can be levered or bridged; 500 mm of clear air between the mesh and anything climbable removes that option entirely. Where the boundary also has to mark a legal edge — a perimeter demarcation mesh between two properties, for example — keep the line of the boundary separate from the line of the barrier so a survey dispute never becomes a security compromise. Tension is the third variable: a slack panel can be pulled aside, so treat the first-season settle as a scheduled task rather than a fault.
Where fall protection and security overlap on the same elevation, the detail is worth reading as one problem rather than two; the load cases and anchor points are discussed together in this guide to safety netting in fall protection.
Specifying the Panel: Aperture, Grade, Fixings and Openings
Size the cable by the attack you expect, not by the price list. A 2.0 mm cable is reasonable for a low-risk perimeter intrusion mesh run, but anywhere a vehicle, a lever or a determined attacker is plausible, 2.4 mm and 3.2 mm grades are the honest choice — roughly 4.4 kN and 7 kN of breaking load respectively. Panels are supplied up to 9 m × 18 m, and a panel that size weighs 160–240 kg, so the handling plan comes before the crane booking. Supports at 2.5–3.5 m centres keep deflection inside about 1% of the clear span.
Grade selection is a corrosion question, not a marketing one. SS304 (18% Cr, 8% Ni) is correct for inland sites; SS316 adds 2–3% molybdenum and is the right answer on a coast or beside chlorinated water, where a tamper resistance claim means little if the panel is pitted after five years. Two design rules prevent most false alarms. First, keep the panel open enough not to blind infrared detection across the boundary — a solid infill or a badly placed sign will break the beam and drive the false alarm rate up until operators stop trusting the system. Second, keep every fixing on the outside face and every ferrule pressed rather than hand-formed, so there is nothing inside the line to unscrew. A standard heavy-duty 2 × 2 in rope mesh roll for security fencing, such as this 51 mm security mesh roll, is the practical starting size for a general boundary.
Standards, Cost and What a Quote Should Include
Perimeter guarding standards are a mix of product and process. Ask for an EN 10204 3.1 mill certificate with the offer: it is the document that separates a genuine 304 or 316 melt from a 201-grade substitute, and it is the one certificate a trader cannot produce on demand. ISO 9001 covers the manufacturer rather than the panel, and protective-security frameworks such as ISO 22341 cover the design instead of the material — useful for justifying the layout, useless for verifying the steel.
Perimeter guarding cost is driven by three things in a fixed order: cable diameter, then aperture, then panel size. Order volume barely moves the number, so a cheaper quote is almost always a smaller cable. As a planning range, allow $20–38 per m² for the mesh, with edge cable, tensioners, ferrules and anchor plates adding another 10–20%. Lead time is normally 2–4 weeks plus 2–6 weeks of transit, and warehouse perimeter guarding or a long industrial run should be phased so that the highest-risk elevations are meshed first rather than spread across the whole boundary. When the brief goes out, specify from the core product page and quote the panel take-off by piece, not by area.
FAQ
Hand-woven stainless steel rope mesh at a 38–51 mm aperture on a 2.0–2.4 mm cable. It delays rather than stops, keeps the boundary visually open, and holds tension after an individual wire is cut.
Height alone does not stop a climb. Tension, aperture and a 500 mm standoff from anything climbable do more work than another metre of mesh, and an inward return at the top removes the easiest hold.
It costs less per square metre and more over the life of the boundary. Welds are the thinnest point of the coating, so corrosion starts there, and a failed intersection opens the grid instead of degrading gradually.
Plan on $20–38 per m² as a planning range with fixings adding 10–20%. Cable diameter is the biggest single driver, ahead of aperture and panel size.