
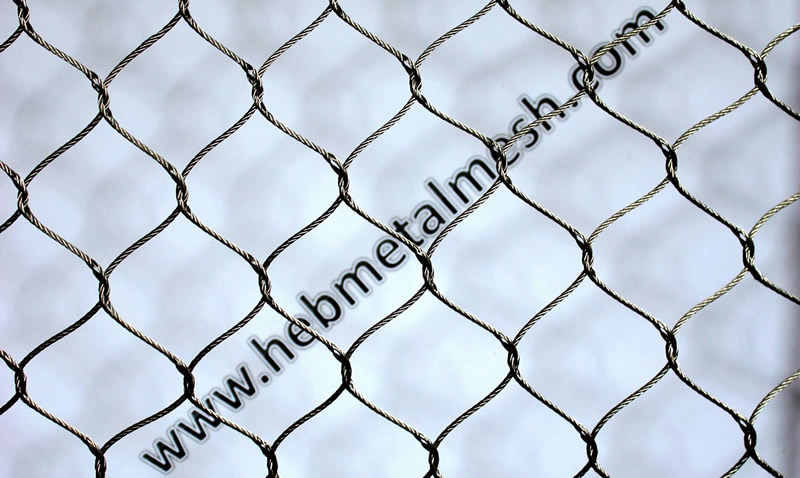
Twenty years of weather has left the chain link in that enclosure gray and brittle, and one look at the ground line tells you why. The wire is thin where it meets the concrete, the tension bars have bowed, and a fence that once rang tight now moves when you lean on it. The posts are a different story. They sit deep, they are still plumb, and pulling them would mean breaking out footings, rerouting a drain and closing the exhibit for a month. So the plan writes itself: keep the frame, change the skin. That plan works, but only if you stop treating the new panel as a direct swap for the old one. To replace chain link with rope mesh is to change how the barrier carries load, and a frame built for one system will fight the other until something gives.
Executive Summary
This job is a frame conversion, not a material swap. Chain link is a stiff fabric stretched flat between posts, and those posts take its load in bending at eight to ten feet on center. Stainless wire rope mesh is a flexible membrane hung from a perimeter cable and tensioned against anchors that reach the structure. Keep the posts and you still have to add the cable grid, the anchor points and the corner bracing the old fence never needed. Survey the frame before you order anything. Post spacing, post section, footing condition and ground-line corrosion decide whether you keep, adapt or replace. Most failed retrofits skip that survey and meet the problem at tensioning, when the panels are already cut. A morning with a tape and a caliper costs less than one re-cut order.
Send us the bay dimensions before you cut anything
Give us your post spacing, height and the condition of the frame. We will come back with a panel module that fits the opening you already have, in grade 304 or 316 stainless, cut to the drawing.
Request a Retrofit QuoteQuick Answer
Yes, you can replace chain link with rope mesh on the posts you already have, but the posts alone are not enough. Rope mesh carries load as a hanging membrane, so it needs a perimeter cable grid and anchors that reach the structure rather than the cladding. Survey post spacing, post section and ground-line corrosion first, because those three numbers set the panel module.
Key Takeaways
- A chain-link frame holds a stiff panel flat. A rope mesh panel hangs and deflects, so the load path changes even when the posts stay.
- Measure post spacing at three bays, not one. Old fences drift, and the widest bay sets the module.
- Clamping panels to an existing top rail flattens the aperture and puts bending into ferrules designed for pure tension.
- Plan the animal move and the phased closure before the first panel comes down, not after.
- Tension the membrane last, and load-test the anchors before the panels go up.
- Old galvanized chain link has scrap value, and that usually covers the cost of getting it off site.
Why a Chain-Link Frame Is Not a Rope-Mesh Frame
Chain link works as a flat sheet held taut. A tension bar at one end, a top rail along the other, and posts at eight to ten feet on center take the load. The fabric barely moves, and that stiffness is the whole point of the system.
Rope mesh does the opposite. It hangs, it deflects under impact, and it returns to shape. A stainless panel spanning the same opening needs a perimeter cable running its full edge. That cable has to terminate somewhere that can take the pull.
That difference is why a straight swap fails. Bolt a rope mesh panel to an existing top rail and every clamp becomes a point load. The mesh flattens against the rail, and the aperture size distorts near the edge. The swage ferrule at each clamp then sees bending instead of the pure tension it was built for.
The failure stays quiet for a season. Then the edge wire starts to sag between clamps, and the panel never quite sits flat again. Our guide to netting for animal enclosures covers the fixings that suit a membrane rather than a stretched sheet.
None of this makes the old posts useless. It means they become a support structure for a system they were never part of, and the design has to close that gap. Our notes on where wire rope mesh stops being the right answer cover the span and load limits that decide this early.
Survey the Frame Before You Buy Anything
A frame condition survey takes a morning and settles most of the argument. Bring a tape, a caliper, a spirit level and a camera, and write the numbers down as you go.
Post spacing sets the panel module
Measure existing post spacing at three bays, not one. Old fences drift, and a bay that reads 96 inches at the gate can read 101 at the far corner.
The panel module has to fit the widest bay, or you add an intermediate post. That single decision moves the budget more than the mesh grade does.
Footings and the ground line decide reuse
You can reuse concrete footings when the post is still plumb and the concrete has no crack running through the collar. Break the collar open on two or three posts and look at what comes out.
An anchor corrosion check belongs in the same visit. Galvanic corrosion shows up where stainless meets galvanized hardware, and it starts as a chalky bloom long before the fitting lets go.
| Check | What to record | Pass | If it fails |
|---|---|---|---|
| Post spacing | Center to center, three bays | Drift under 2 in | Add an intermediate post |
| Post section | Outside diameter, wall thickness | Wall above 3.5 mm | Sleeve or replace |
| Plumb | Deviation over full height | Under 1 in 8 ft | Re-set or add a stay |
| Footing | Type, collar condition | No crack at collar | Pour a new footing |
| Ground line | Corrosion depth at 6 in | Sound metal under scale | Splice or replace the post |
| Bracing | Corner and end stays | Present and tight | Add cable stays |
| Anchors | Existing points, condition | Load path to structure | Drill new anchors |
Run that survey before you send an inquiry. A supplier who asks for the bay dimensions and the post section is quoting a real panel. One who quotes from a catalog page is guessing, and the notes on choosing netting suppliers who publish their tolerances show what to compare.
Three Ways to Attach, and Only One Works
Three approaches turn up on jobs to replace chain link with rope mesh. Only the second one survives a real wind event.
- Clamp the panels to the existing rails. Cheapest, fastest, and the one that fails. Every clamp becomes a point load, the aperture distorts at the edge, and the ferrules end up in bending.
- Build a perimeter cable grid on the existing posts. The cable carries the membrane and the posts carry the cable. Load then arrives at the posts in the direction they were designed for.
- Set an independent frame inside the old one. This is the right answer when the posts are undersized or the span is long. It is also the only option that lets crews work without touching the original structure.
Option two covers most retrofits. It needs a cable at the top, a cable at the bottom, and a cable at each vertical edge. All of them terminate at anchors that reach structure rather than cladding. The panels that hang on that grid are custom stainless animal fence mesh, cut to the bay rather than to a stock size.
Designers who run these conversions often work from the ZooLex exhibit database of built animal enclosures. It is a useful check on how other institutions handled a barrier change with animals on site.
Cable diameter matters more here than on a new build. An undersized tension wire stretches under the first load cycle. The membrane loses its preload, and the panel starts to belly. Go up one size before you go up one grade.
Fitting Panel Modules to Existing Post Spacing
Every retrofit comes down to one question: does the panel module fit existing frame geometry, or does the frame need another post? That is a drawing problem, not a catalog problem. Send the bay dimensions and the height, and let the panel be cut to the opening.
This is where most of the schedule is won or lost. Custom panels arrive with the correct aperture size, the correct cable diameter and ferrules already swaged, so the crew hangs rather than fabricates. The stainless panels we build to a drawing arrive for exactly this reason.
Grade matters too. Grade 304 stainless handles inland sites, and 316 belongs anywhere the enclosure sits near salt water or a cleaning regime that uses chlorides.
Keeping the Animals Contained While You Work
Animal relocation during construction is the part of the schedule nobody prices at the start. It also decides how the whole job gets sequenced.
Phased enclosure closure
A phased enclosure closure works when the enclosure has more than one compartment or a holding area behind it. Take one bay down, hang the new panel, tension it, then move to the next.
The animals stay in the untouched section and the keepers keep their routine. That is worth more than the labor you save by stripping the whole run at once.
Temporary enclosure during re-mesh
A temporary enclosure during re-mesh can be built from the panels you are about to install. Set it up as a smaller pen inside the footprint, and it buys time at no extra cost in material.
Enclosure downtime is the number to put in front of keeper staff first. A six week closure and a three week closure are different conversations with a curator, and the gap is usually sequencing rather than speed.
Stripping the Old Skin
Chain link removal is quick and dirty. Cut the fabric into vertical strips, roll each one, and band it before it becomes a pile of spring wire that fights everyone.
Mesh removal and disposal has a real cost, and it is easy to underbid. Old mesh recycling usually covers part of it, because galvanized chain link carries scrap value by weight.
Keep the old tension bars and turnbuckles in a pile rather than a skip. Half of them will go back on the new frame. The run they came from is the same run the replacement wire rope mesh fencing will hang from.
- Cut fabric in vertical strips from the top rail down, never the reverse.
- Keep the tension bars intact until the fabric is off the posts.
- Band every roll before it goes on the truck.
- Separate galvanized steel from any stainless or aluminum fittings.
- Photograph the bare frame before new panels arrive, so the survey and the finished job match.
What to Check After Tensioning
Re-tensioning new mesh on old frame is normal in the first month, not a defect. Rope settles, ferrules seat, and the membrane finds its final shape under load.
Walk the run in this order:
- Check every anchor for movement at the fixing, not just at the cable.
- Run a hand along each perimeter cable and feel for slack between terminations.
- Confirm the aperture is still even at the corners, where clamping pressure distorts first.
- Look at the breaking load margin on the top cable where it turns a corner.
- Photograph the finished tension for the maintenance file.
A contractor or in-house crew can both replace chain link with rope mesh, and the choice usually comes down to scaffold access for tall enclosure runs. Above about 20 ft, the access cost outweighs the labor saving of doing it yourself.
Zoo projects add a sign-off step here. The exhibit barrier packages built for zoo work usually arrive with a handover sheet. Matching that sheet to the survey from week one is what closes the job.
FAQ
Usually yes, if the post is plumb and the wall thickness is sound above the ground line. The posts then need a perimeter cable grid and new anchors, because the load path changes.
Three to six weeks for a typical run, and sequencing decides which end of that range you land on. A phased closure with animals held in one section usually beats a full shutdown.
Only if the concrete is cracked at the collar or the post has lost section at the ground line. Sound footings can be reused, and breaking them out adds cost without adding strength.
Yes. Send the measured bay dimensions rather than a nominal figure, because the widest bay sets the module and a stock size will not close the gap.
Two people can hang and tension a panel, and four make a run move quickly. Add one person for scaffold work above 20 ft, where access eats the time.
Get the panel module before the frame comes down
Send your bay dimensions, height and a photo of the frame. We will confirm the module, the cable schedule and the anchor points so your crew hangs panels instead of fabricating them on site.
Talk to an Enclosure Engineer