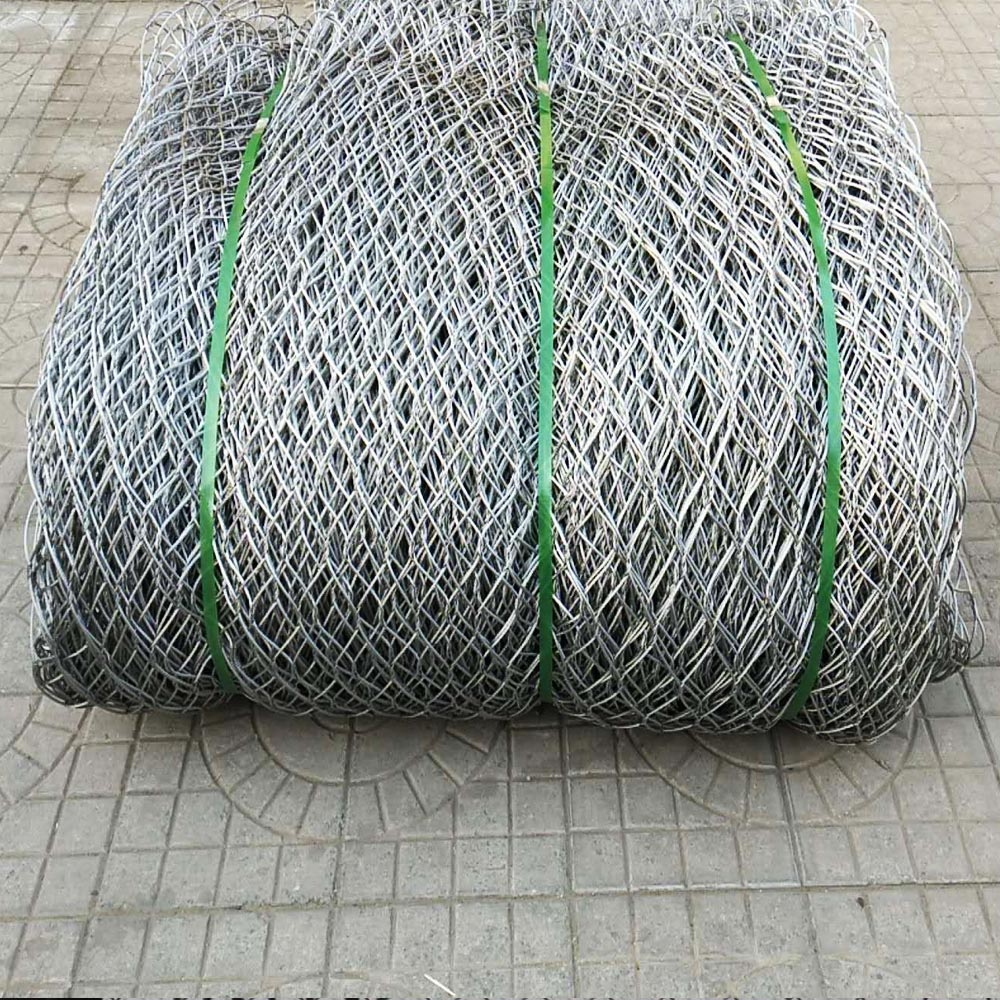
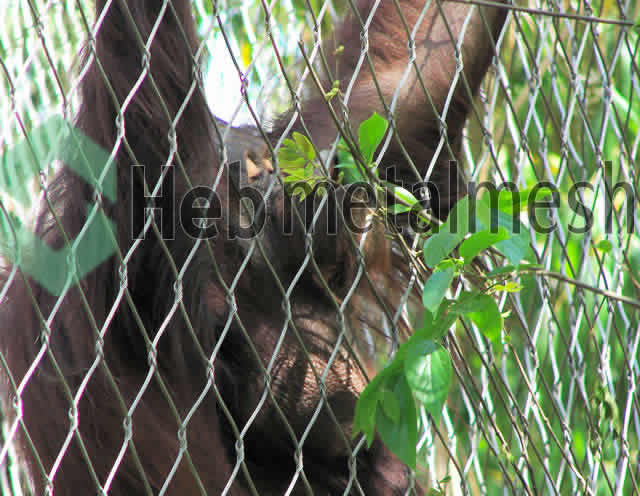
Zoo mesh, also known as mesh panels or wire fencing, is a popular choice for enclosing animal enclosures in zoos and wildlife parks. It provides a secure and durable barrier while also allowing for visibility and ventilation. If you are considering installing zoo mesh for your animal enclosure, follow this step-by-step guide for a successful installation.
Step 1: Measure and Plan
Before purchasing your zoo mesh, it is important to accurately measure the perimeter of your animal enclosure. This will ensure that you purchase the correct amount of mesh panels and any necessary hardware. It is also important to plan the layout of your mesh panels, taking into consideration any gates or openings that may be needed.
Step 2: Gather Materials

Once you have your measurements and plan in place, it is time to gather your materials. In addition to the zoo mesh panels, you will also need posts, tension wire, hog rings, and a hog ring plier. It is important to use high-quality materials to ensure the longevity and effectiveness of your zoo mesh enclosure.
Step 3: Install Posts
Using a post hole digger, dig holes for your posts along the perimeter of your animal enclosure. The distance between posts will depend on the size and strength of your zoo mesh panels. Typically, posts should be placed every 8-10 feet. Once the holes are dug, insert the posts and secure them with concrete.
Step 4: Attach Tension Wire
Next, attach tension wire to the top and bottom of your posts using hog rings. This will provide additional support for your zoo mesh panels and help keep them in place.
Step 5: Install Zoo Mesh Panels
Starting at one corner of your enclosure, attach the zoo mesh panels to the posts using hog rings. Make sure the panels are pulled tight and secure them to the tension wire at the top and bottom. Continue this process until all panels are installed.
Step 6: Secure Panels Together
If you have multiple panels that need to be connected, use hog rings to secure them together. This will ensure that there are no gaps or weak spots in your enclosure.
Step 7: Add Gates and Openings
If your enclosure requires gates or openings, install them using the same method as the zoo mesh panels. Make sure they are securely attached to the posts and tension wire.
Step 8: Trim Excess Mesh
Once all panels and gates are installed, trim any excess zoo mesh using wire cutters. This will give your enclosure a clean and professional appearance.
Step 9: Inspect and Test

After installation, inspect your zoo mesh enclosure for any weak spots or gaps. Test the strength of the enclosure by pushing and pulling on the panels. Make any necessary adjustments or repairs before introducing animals to the enclosure.
By following these steps, you can successfully install zoo mesh for your animal enclosure. Remember to use high-quality materials and regularly inspect and maintain your enclosure for the safety and well-being of your animals. Have any tips or tricks for installing zoo mesh? Let us know in the comments.

