
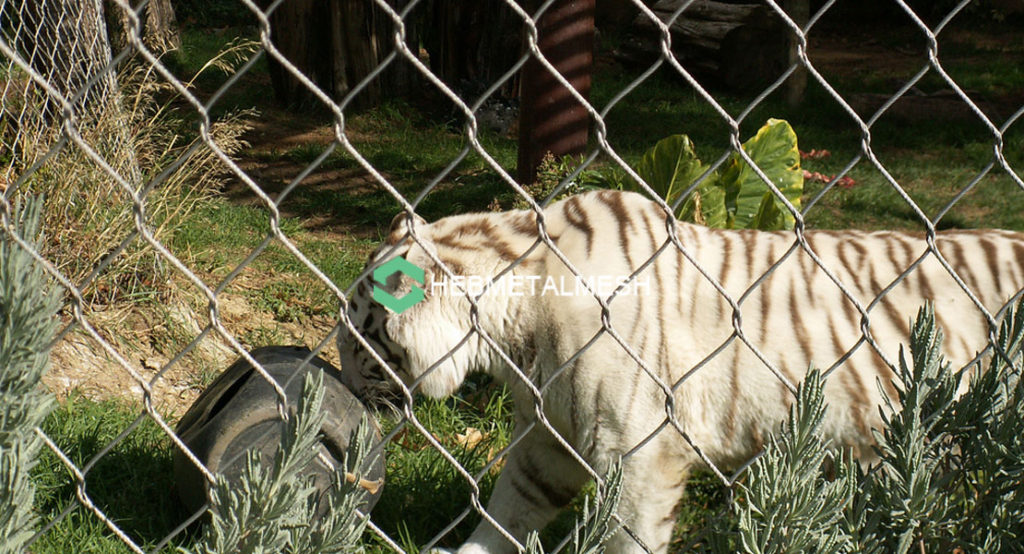
Most guides to zoo animal mesh start with a material comparison and work forward to a price. That order is wrong for the work that actually gets done. The majority of enclosures receiving new mesh already exist, and the structure underneath them decides the answer. An enclosure retrofit therefore runs from the other end: survey what is standing, decide which parts of it still carry load, and choose a mesh the frame can hold at the tension the enclosure needs.
Executive Summary
Treat an enclosure retrofit as a survey job with a materials order attached, because the binding constraint is never the mesh — it is the structure the mesh has to attach to. Three questions decide the outcome and they have to be answered in that order. What is the real existing frame condition, anchorages included, and what frame capacity can honestly be claimed after twenty years outdoors? How will the new mesh be terminated and tensioned onto that frame, given that a hand woven rope mesh delivers all of its load through its edge cable to the structure rather than into the panels themselves? And how will the work be phased while the collection stays on site, since animal relocation during works is a welfare decision before it becomes a logistics problem. The mesh is selected last, against those answers. The reference specification is the animal fence mesh product page.
Quick Answer:
An enclosure retrofit replaces the mesh on a structure you already own. Survey and measure enclosure bays before pricing anything — clear spans, post spacing, anchor detail and corrosion at the connections — then test whether the frame capacity is still there before deciding what to keep. Specify the new mesh against the frame rather than against a catalogue, and agree how it will be terminated on the existing posts. Decide the phasing before the specification, because a staged mesh replacement that keeps animals in place usually costs less than emptying an exhibit for the duration.
Key Takeaways
- Frame reuse is the largest saving in a retrofit and the largest risk; check capacity before committing to it.
- Reusing existing posts is legitimate only where corrosion at the connection and at the groundline has been measured rather than judged by eye.
- Terminating new mesh on a tired frame transfers the failure rather than removing it.
- Phase the work around the collection — the temporary enclosure screen belongs in the specification, not in a site diary.
- Price the programme, not the panel: removal, temporary works and access routinely exceed the mesh cost.
Enclosure design and renovation are documented in the profession’s own reference material, and the ZooLex enclosure database is where design teams check how comparable exhibits have been built and rebuilt.
An Enclosure Retrofit Starts From the Structure
The enclosure retrofit process has four stages and only the last one is about buying mesh: survey, structural decision, specification, phasing. Writing an order before the first two are finished is how a facility ends up replacing sound mesh on a failing frame, or preserving a frame that cannot hold the tension the new mesh requires.
Re meshing an enclosure is not the same job as meshing a new one, because everything the new mesh will do is conditioned by what is already there. The span between supports is fixed, the fixing points are fixed, the heights are fixed, and the roof geometry is fixed. What is not fixed is the mesh itself, and that single remaining freedom is what enclosure retrofit planning has to allocate carefully — which is exactly the part an enclosure retrofit guide usually skips.
Survey and Measure the Enclosure Before Pricing
Before anything is ordered, someone has to survey and measure enclosure by enclosure, bay by bay, recording what is actually there rather than what the drawings claim. The enclosure retrofit checklist is short and entirely physical, and skipping any line of it moves cost from the survey into the installation.
| What to record | Why it changes the price |
| Clear span and intended panel size | Sets tension, deflection and how many supports share the load |
| Post spacing and fixing detail | Decides fixing count and whether the frame can accept edge loads |
| Anchor and base condition | Groundline corrosion here retires a post, not the mesh |
| Roof and three-dimensional geometry | The surface that inflates a quote between survey and delivery |
Access belongs on the same sheet. Note what a lift can reach, what has to be carried in by hand, and whether plant can enter the enclosure at all. On a retrofit those constraints are fixed before you arrive, and they, not the material, set the labour.
Test the Frame Before You Trust It
Frame reuse is the main saving in a retrofit and the main risk, and one inspection decides both. Reusing existing posts is legitimate only where three things have been measured: the section that remains after corrosion, the condition of the base at and below the groundline, and the capacity of every welded or bolted connection.
Steel loses section quietly. A post that reads sound at eye level can be carrying half its original material below the surface, and the failure mode of an old post is not gradual — it is a panel releasing under load. The second check is the metals question. Where an existing frame, bracket or fixing is galvanised or mild steel and is being asked to hold stainless mesh, galvanic corrosion at that junction is predictable rather than merely possible, and the standard remedy — an isolating washer or bush at every dissimilar contact — has to be written into the specification rather than improvised on site. Publish the frame capacity you are prepared to rely on, and design to that figure.
Read Why the Old Mesh Failed
An existing frame condition report is only half a survey if nobody asks why the previous mesh went. The answer usually sets the new specification, because the mechanism that retired the old material will retire its replacement too unless something changes.
There is a useful split between what the environment does to a material while it stands and what the product becomes when it comes down, and the exposure and material selection breakdown covers the first properly. Galvanised coatings fail before the steel they protect. Welded grids corrode fastest at the fused intersection, where the coating is thinnest. Stainless holds its service life only while the chloride load stays inside what the alloy was chosen for. So read the removed mesh as evidence rather than as waste: failure at the groundline indicts the base detail, failure at a weld indicts the format, and uniform failure means the exposure was underestimated. That sentence is what justifies the new specification to whoever signs it.
Phase the Work Around Live Animals
Staged mesh replacement is the default rather than a compromise, and it is settled before the specification rather than after. The constraint is that few collections can be emptied for the duration of the job, so the work has to be sequenced around them.
Three devices do most of it. A temporary enclosure screen built from the same hand woven rope mesh lets you take down one bay and reinstate it before moving to the next, so the enclosure is never simultaneously open and closed. Animal relocation during works is then limited to a shift or transfer rather than a full evacuation. And the calendar carries real money: plan the works during closed season where the collection allows, or inside the maintenance window the site already runs, because out-of-hours working around live animals multiplies the cost of every hour on site.
Specify and Verify the Replacement Mesh
With the frame, the load path and the phasing settled, the mesh order becomes short and specific. Specify against the duty and the structure: aperture from the smallest resident, rope diameter from the largest thing that will push against it, termination detail from the fixings the existing frame can accept.
Then treat the order as a documentation problem as much as a materials problem. The gap between a specification and a delivery is where mesh orders fail, and the specification and verification method — a five-field designation, a stated measurement basis and tolerance, and a grade certificate tied to a heat number — is what makes a delivery checkable on arrival instead of arguable two years later. On a retrofit this matters more than on a new build, because the mesh is going onto a structure whose tolerances were set long ago. Anything the new mesh cannot meet has to be raised as a departure before fabrication, not after the panels land on site.
Terminate a New Mesh on an Old Frame
Termination is where a retrofit is actually won, because it is the part the frame has to resist. A hand woven rope mesh carries its load through an edge cable running the full perimeter of each panel; that cable is terminated by a swage ferrule at each end and tensioned back to the structure. Every load the mesh ever sees therefore arrives at the frame through a small number of hard points, and the frame has to be able to take it.
Two numbers govern the detail. The first is the breaking load of the strand, which sets the tension a panel can be held at and therefore how far it deflects. The second is tension loss, which accumulates from the initial bedding-in of the weave, from thermal movement across the season, and from any anchor that yields. Re-tensioning is normal maintenance, but a panel that cannot be re-tensioned because its anchors are seized or its frame too flexible was mis-detailed at the drawing stage. Where an existing frame cannot accept a perimeter cable at every bay, a modular panel system with discrete panel-to-post fixings is often the more honest detail.
Retire the Old Mesh and Plan the Next Cycle
The last decision in a mesh replacement project is what happens to what comes off, and it deserves attention for two reasons. Structurally, removal is not free — an old panel that has to be cut loose, carried out by hand and disposed of properly costs more than a mesh quotation normally assumes. Commercially, stainless is a recoverable material, so scrap value offsets part of the removal, while failed galvanised fabric is bulky waste rather than scrap. The end of life question — recovery route, disposal regulation and designing the new installation for disassembly — is worth settling at specification stage rather than at the skip.
Then close the loop. Asset replacement planning is what stops the next retrofit being a surprise: record the installation date, the alloy, the aperture and the rope diameter, and set an inspection interval so that the service life of the new mesh is measured rather than assumed. A specification written against apertures, rope diameters, grades and finishes of the kind listed on the animal fence mesh product page is quoted directly and compared like for like. Twenty years of records is what makes the second retrofit cheaper than the first.
FAQ
Sometimes, and the survey decides. Reuse pays where posts still have section, bases are sound and connections can take edge loads. Where corrosion has eaten the section below the groundline, the saving moves into remedial steelwork and disappears.
The meshing is quick; the survey, the temporary works and the phasing are not. Let the programme be set by the animal-management calendar and by when the enclosure can be taken out of service, not by the fabrication lead time.
Usually yes, with a staged sequence and a temporary screen. Where an enclosure has to empty, the relocation and the return are part of the project cost rather than an extra, and they belong in the budget from the start.
No, but the frame constrains it. Aperture and rope diameter are free to change; panel size, fixing points and heights are largely set by what is already standing, which is why the survey comes before the specification.